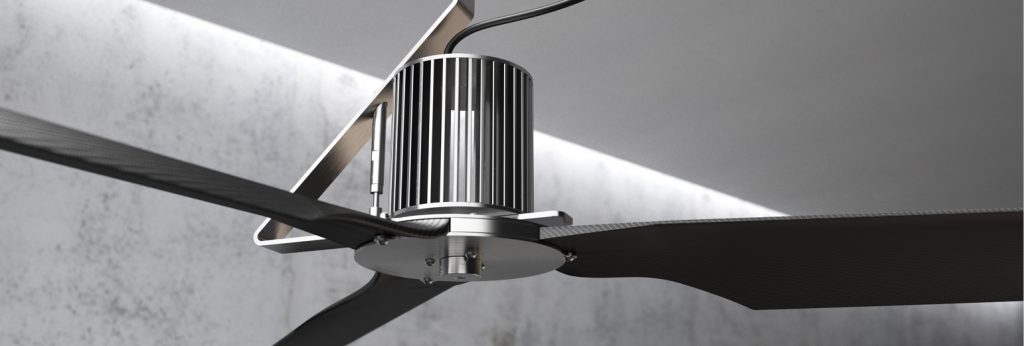
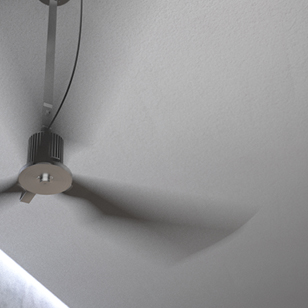
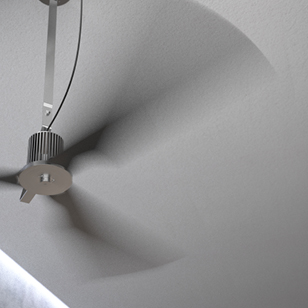
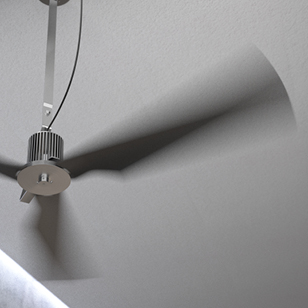
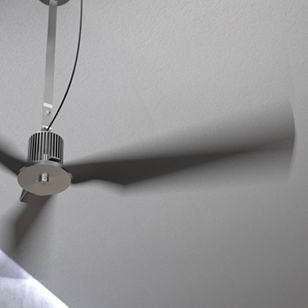
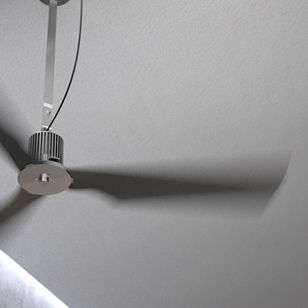
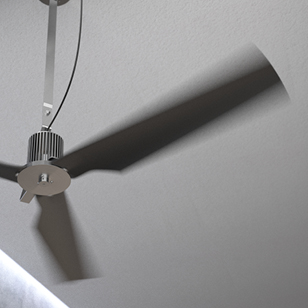
In this article, Un-real Studio has decided to tackle the Motion Blur with Maxwell Render topic a little more in detail, with the perfect example of an animation of product Cea Design’s “Two Fan”.
3D MODEL IN MAXWELL RENDER
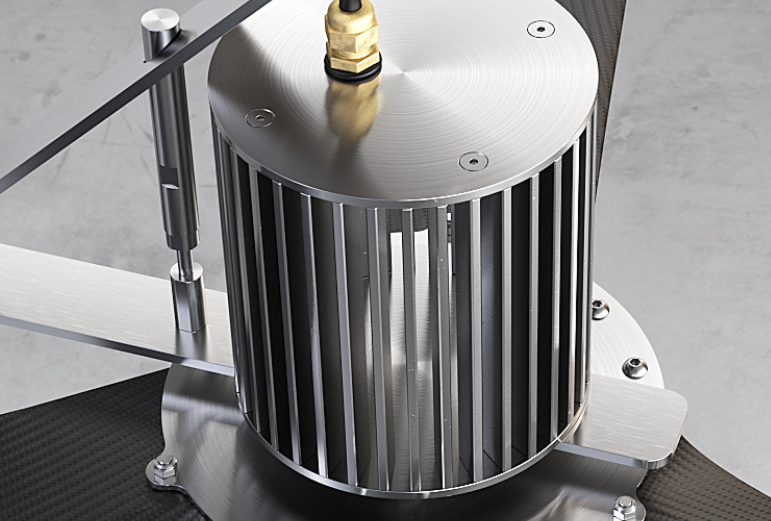
For a photo-realistic result, it is impossible to focus on setting the materials and the correct application of the textures, which is particularly important in a render like this, where the metal component is primary.
Topics such as anisotropy, global bump, and roughness must be carefully set to achieve high photorealism.
MATERIAL SETTING
Starting, for example, from the metal element of the upper cover, we created a starting material by loading the chromium.ior file present in the Maxwell library.
This way, the “BSDF Properties” will have the real values of the material avoiding the risk of setting wrong parameters.
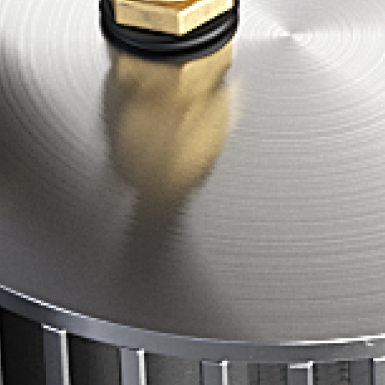
At this point, moving to the “Surface Properties” section, we set the “Roughness” value to medium-low since the material in question is a metal that is not completely shiny.
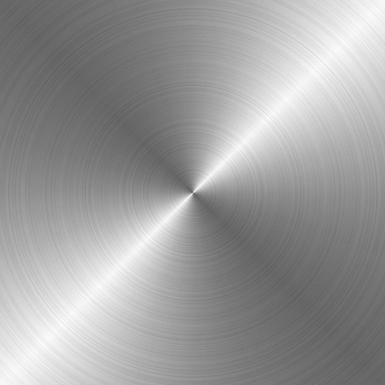
As the value of “Anisotropy” we set an intermediate value to obtain a brushing effect.
UV MAPPING ON MAXWELL STUDIO
Regarding the carbon material, the difficulty was being able to correctly adjust the scaling of the texture on the various facets of the modeling.
The method used was the assignment of materials by selecting the “Triangles”, thus creating a “Multimaterial” material.
As you can see from the image, a dedicated material has been created for each direction, duly scaled and oriented as needed.


SCENE CREATION
Let’s now come to the setting of the scene. Specifically, we find 3 emitters, two of them are applied to planes, the other one in the background, to simulate a neon created by a cylindrical base.
Below you can see the set of the scene.


CAMERA SETTING
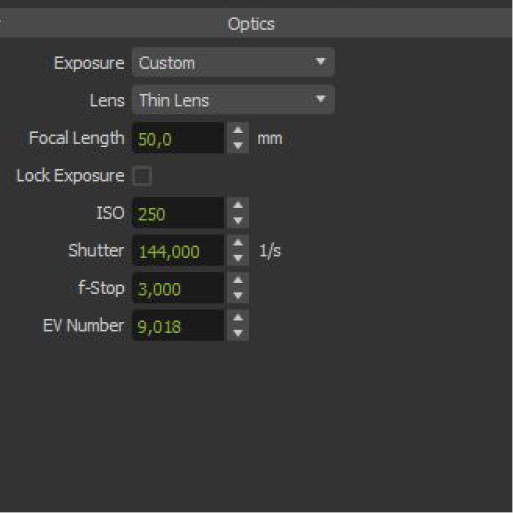
Once the scene is set, we come to the camera settings. In the chosen shot, it is important to define the type of “lens”, depending on the type of image we want to obtain, whether completely in focus or playing “depth of field”.
In our case, the choice fell on a scene focused on the object, and the background slightly out of focus. For this reason, we opted for the use of a classic “thin lens”.
With the help of the viewfinder (see images) we placed the target camera on the object and set an “f-stop at 3.000” to have a very narrow focus.


OBJECT TO ROTATE
The next step was to isolate the objects to be rotated, grouping them together, then selecting them in the animation settings as a rotation object.
It is very important to center the object’s gumball in the precise center of rotation. Let’s help us on the “Transform Object / Pivot” button to move the pivot precisely.


ANIMATION SETTING
Once all these operations have been completed, we begin with the animation settings that will effectively manage the more or less accentuated blur effect in the rotation of our fan.
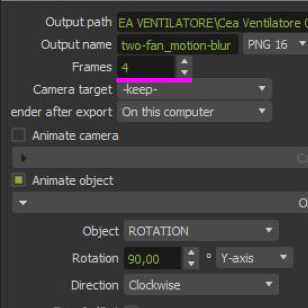
First of all, select “Animation” from the commands on the top bar, and in the screen that will open, select “Animate object”.
Then, select “ROTATION” that is the name of the group we previously set. Now set “90°” rotation angle and “Y-axis” as rotation axis.
Choose “Clockwise” to have a clockwise rotation and finally remember to enable the “Motion Blur”.


MOTION BLUR SETTING IN MAXWELL RENDER
To conclude, we just have to decide how much the motion effect of our animation should have. To do this, you need to decide the number of “frames” to be set, to make our object perform the rotation of “90°”.
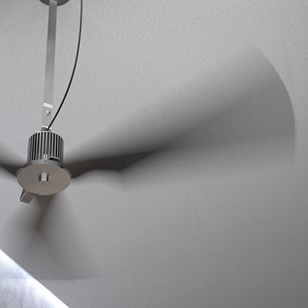
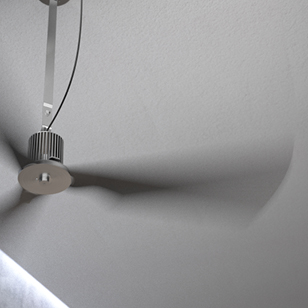
The greater the number of frames, the less blurry it will be. Conversely, the smaller the number of frames, the more pronounced the motion effect. Here are some examples of the relative number of frames chosen.
Set “keep” to “Camera target” to maintain the focus values previously set; the option “Render after export” and “On this computer” must be selected to start the rendering calculation, once the exporting .mxs files.
This article was created by Un-real Studio. We appreciate their contribution to the community. Check out their work on Instagram.

If you too would like to contribute to helping others in our small but beautiful community improve, send an email to terry.illoh@nextlimit.com.

