
A workflow example of creating photo-realistic visuals of a coffee maker for global advertising and packaging.
CAD Data – clean up and export
At the start of most of my projects, there are usually all kinds of 3d files from a variety of sources and creators. There are production files from similar products the client has already rolled out. There are files from product designers with new or modified product elements which are not production-ready.
There are files from graphic and UI designers with interface or surface texture elements, some of which have been produced, while others are new designs. Usually, these files cannot be combined without generating many errors.
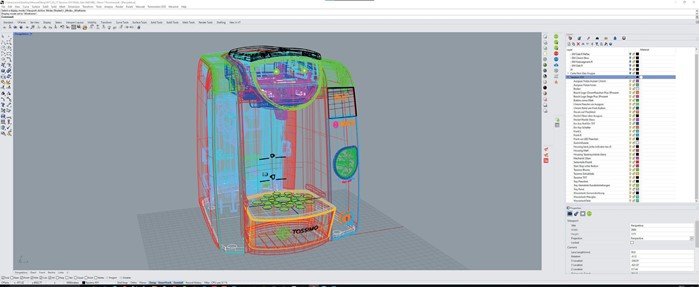
My first action is to get all components and parts cleaned up, reduced, sorted, and reorganized in the Rhino Layers Menu. Normally, it is a good idea to check for multiple and double surfaces, unnecessary folders, and or blocks. Also, delete all things you will not see or need later in the final render.
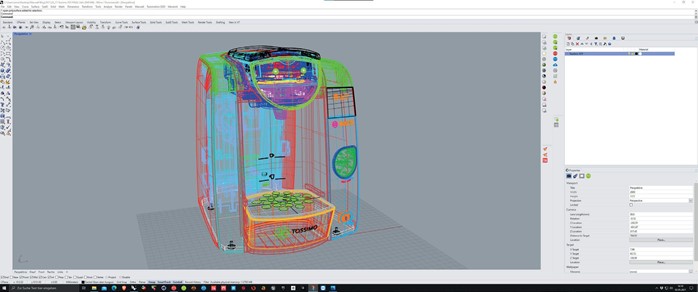
Then I usually rename, organize, colorize (each object or group part gets its own color) and regroup all parts in a way that order to check if all necessary objects are correctly positioned and nothing is missing. This also helps later to find the parts in Maxwell Studio much faster in order to apply materials and create the UV‘s.
I also create special emitter and reflex surfaces that I later use in Maxwell Studio to create exact reflections and part illuminations. These have characteristic names that I also use in Maxwell Studio when creating emitters there, e.g. ( Naming convention: – EM).
Export via Maxwell Render plugin to Maxwell Studio
In order to find the best settings for the NURBS meshing parameters, I choose one part that has a lot of surface fillets and directional surface changes and exports it to Maxwell Studio with different Polygon Mesh Options to see how my surfaces will translate to Maxwell Studio.
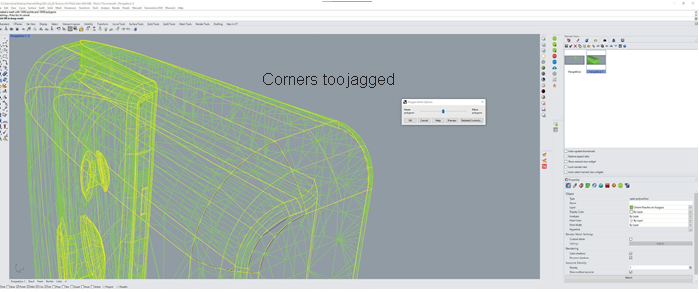
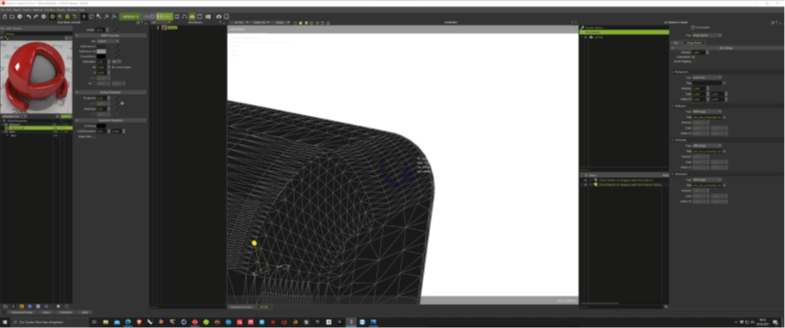
My first export setting usually is the default Rhino Mesh Setting which in many cases does a pretty good job calculating a good result. My customer wanted to have 4K-6K Renders with the possibility to zoom in on parts of the image, so I had to define meshing settings that create much smoother corner rounding.
This of course always results in a higher polygon count. But since I only had to work with just one coffeemaker in my scene the polygon count was not much of an issue.
Maxwell Studio is quite capable of handling real large and polygon heavy scenes. (Thanks NL!) But for more complex scenes it is always a good idea to be as polygon light as possible.
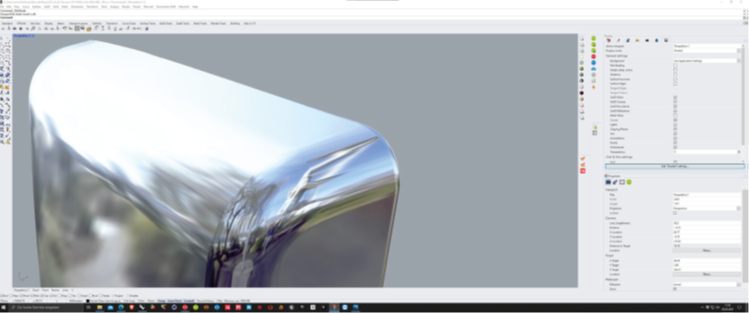
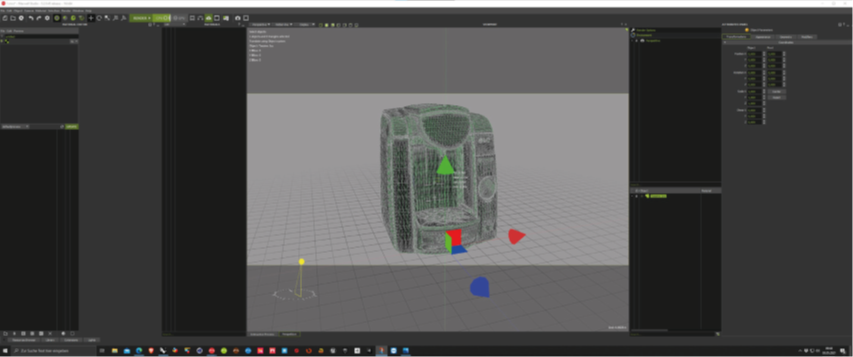
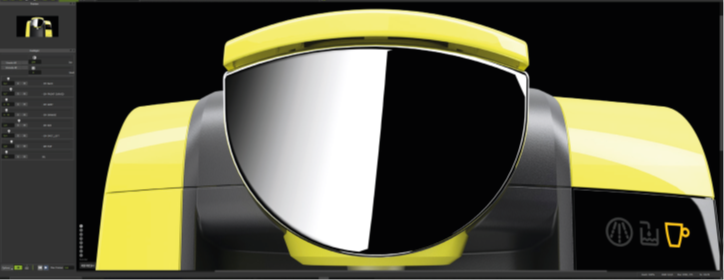
Below you can see which settings I finally used. To check my settings I use Rhino‘s Surface Environment Analysis Feature (see the below image with chrome surface).
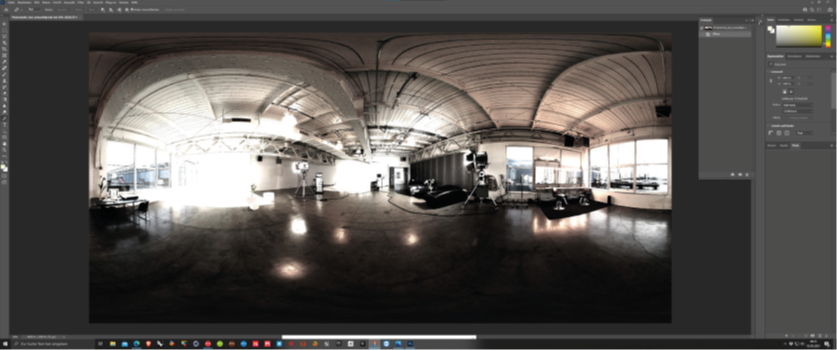
After exporting the part to Maxwell Studio I just create a highly glossy plastic material, set up a camera, and use an environment scene I created just for that. Basically, it has a white background and all other channels use a custom-made HDRI which you can see below.
I do a few quick-fire renders to check the quality of my mesh, and if I am satisfied I go back to Rhino and export my whole coffeemaker with the same settings that I used for the first part. This method does not always apply since sometimes it would be better to export different parts with their specific polygon meshing value to keep the file sizes small. In this case, I had no issues with a too-high polygon count.
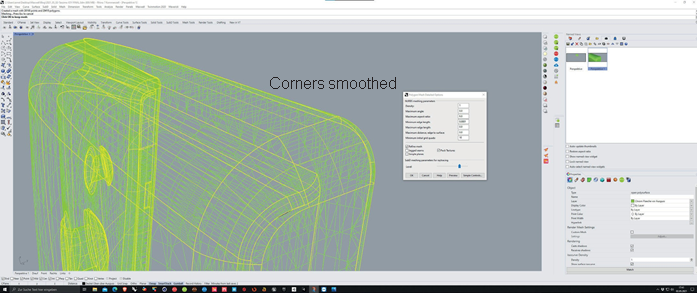
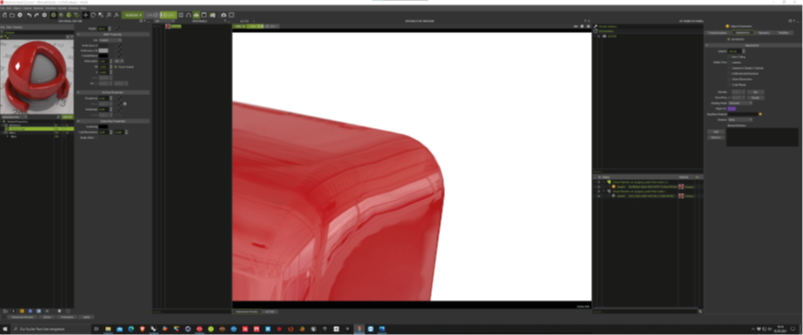
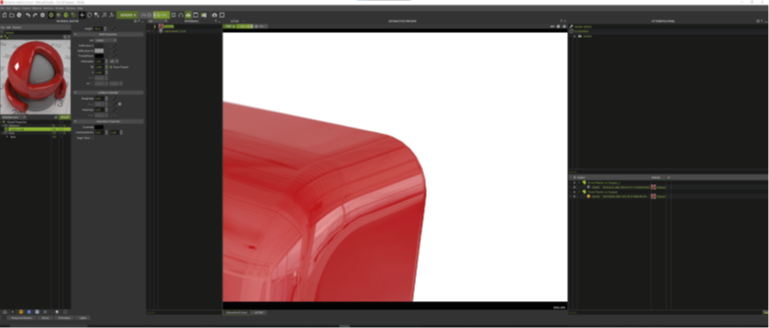
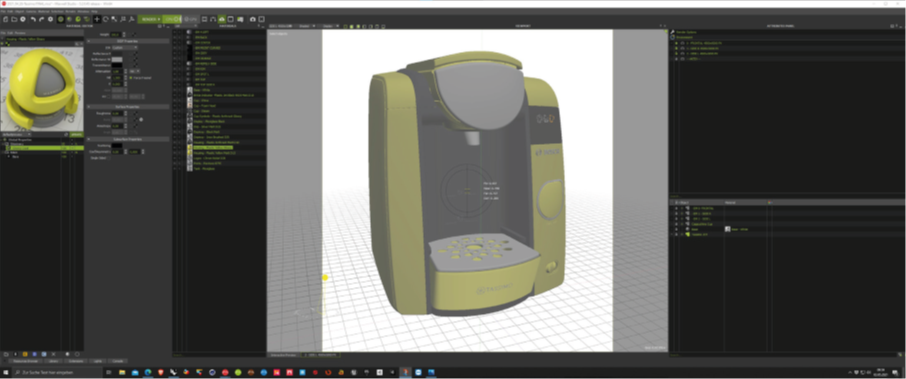
If the mesh still looks too rough, I modify the meshing values in Rhino‘s Meshing Options Popup accordingly. Below in the first picture, you can see what the corners and the environment reflections look like with the default mesh render settings. The second picture shows the settings I came up with and the resulting corner and reflection quality.
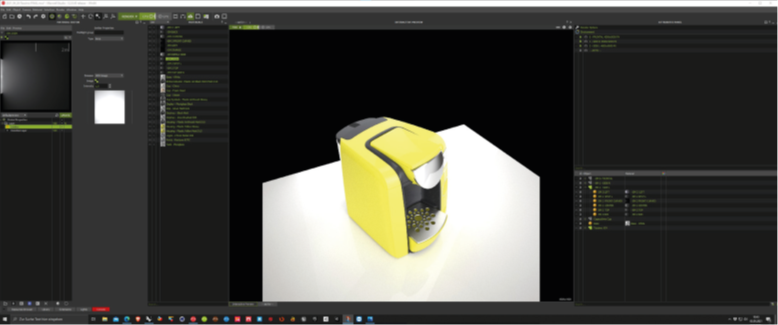
Scene Setup in Maxwell Studio
Next I set up my scene by importing the whole coffeemaker with the mesh export settings I explored before.
I create my materials, many of them based on default materials that Maxwell Studio provides, or make them from scratch. (Setting up these materials is planned as a separate blog or video post) Setup of my cameras is next. I like to name my cameras with a name that correlates to the emitter group name (See naming example below).
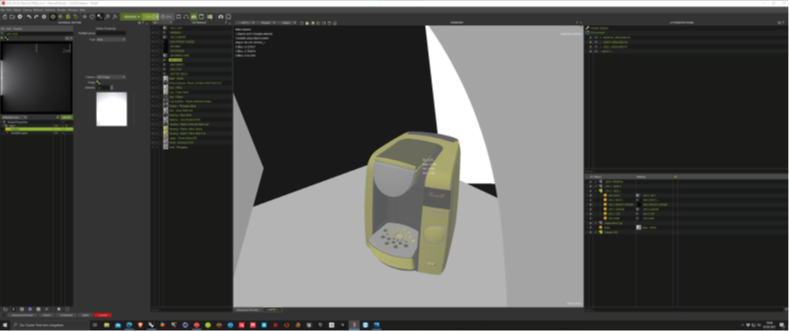
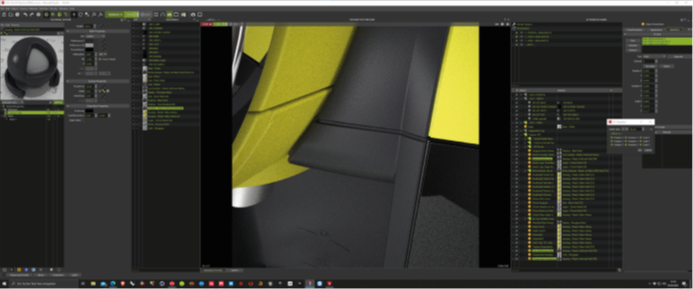
Emitters and surface reflections are next. I often use custom-made emitter surfaces to highlight specific areas or rim reflections. Sometimes I create these light planes in Rhino and import them during the scene setup via the Rhino to Maxwell Plugin.
In the second picture below you can see a curved light that provides the rim reflection later on. I set up my emitter planes for each camera separately and name them according to my camera names, e.g.:
Camera Name is: 0 – FRONTAL 4500x4500PX
Then my Emitter group for that camera is called: – EM 0 FRONTAL.
(I use the – in front of the name to sort the emitter groups so they are always listed first in my ‚Object List‘ in Maxwell Studio. Being organized is key for a fast workflow).
That way I can simply turn the emitter group on or off, which I need for the chosen camera and vice versa. I also always have one camera called ‚ACTIVE‘ which has the same exposure settings as my render cameras. I use this camera to check the emitter values while working on the scene setup, rendering fire renderings to check if my emitter values are working out, or to see how my material bump and UV settings turned out.
Very important for this job was to get the materials and surface properties aligned with real world product attributes so that at the end you can‘t distinguish the 3D render from an actual photograph. I received prototype parts and created the Maxwell Studio materials accordingly.
Here Maxwell Studios ‚Fire‘ Render Engine comes in handy. Using my ‚Active‘ camera I tweaked my material and texture settings, adjusted the UV Sets and once I had the right settings, I renamed the new created material with the values I used in the UV Set, e.g. Housing – Plastic Anthrazit Matt D80.
D80 means that I normalized the UV Sets of all objects containing this material and then used Maxwell Studio‘s UV Operator to scale the UV by /80 to get the desired graininess in this case, depending on the texture I used in the normal. (See screenshot below) In case I have to change these settings later it is much easier to tweak these values or when applying this material later on to a different part I can see the UV settings I need to apply just by looking at the material name.
Rendering in Maxwell Render
After I have arranged all my cameras, lights, and materials I do a small test render with the Multilight setting set to Intensity and send the file to Maxwell Render to adjust my emitter values. My goal is to get the lighting/reflections all set up in Maxwell Studio so that I have none or hardly any Photoshop work later on.
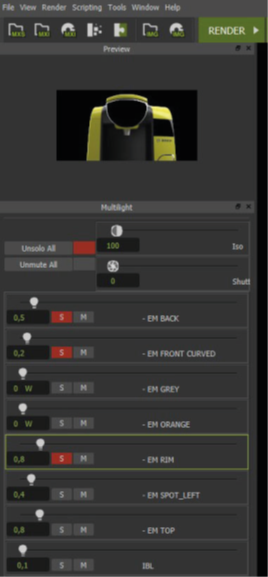
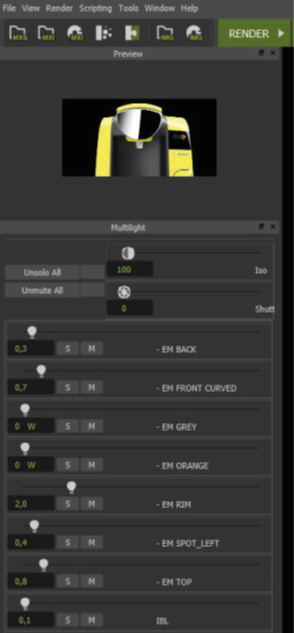
After some emitter light adjustments to find the best combination, I am off to finally send the file to render via Maxwell Render. Sometimes I use Multilight in the final rendering, often I don‘t, because renderings finish faster without. The above mentioned workflow helps me get the correct emitter values for the final rendering.
Some final results are shown below. All lights and reflections are results of my scene setup. Photoshop was only used to do some color corrections and sharpening and sometimes it is easier to render floor reflections separately and add those in Photoshop, too.
I hope this was helpful to you. Prosper and render!
Cheers
Carsten Quilitz