Speeding-up render times is always a hot topic for everyone working in this business, and so although this post is a summary of a tutorial we actually released some time ago, I thought it would be worthwhile highlighting it again for those of you who may not have seen it.
As you all know, Maxwell is all about reality and physical accuracy. It simulates reality in a very exact way, so in the Maxwell code there is no room for tricks or shortcuts that change the behaviour of light to accelerate the calculations. But in the same way that photographers and cinematographers use certain methods to tweak and control light to reduce grain (noise) on their shots, in Maxwell we can use these methods to make virtual scenes resolve in a much cleaner and faster way. So the concept here is about manipulating real light, as opposed to algorithmic adjustments which produce a fake or trick reality – and giving you more speed and less noise without sacrificing quality and realism.
Manipulating reality versus trick reality
I would like to reiterate the big difference between these two concepts. When I say manipulating reality, I am talking about the idea of adding or removing elements in your scene in the same way you would in a real photography studio, to make the scene easier (and therefore faster) to resolve. By removing unnecessary furniture not visible in the frame, or using objects to block, absorb or reflect light in certain areas are all examples of how we can tweak scenes to reduce noise. Most importantly, we are not affecting the behaviour of the render engine, which remains correct and accurate.
In contrast, by trick reality we are talking about altering the way the engine actually calculates, in order to get a faster result. Changing the number of bounces for example or the quality of light interpolation. But in these cases the engine is no longer simulating reality, and so the quality can suffer as a result. And of course a photographer can’t employ these kinds of tricks!
Maxwell always works as an accurate simulation of the way light behaves, which can be seen as restrictive or too slow if you’re thinking in terms of render parameters. But if you consider your scene in the same way a photographer would, then is plenty of scope to perform all kinds of tweaks to significantly reduce rendertimes – without losing any quality or realism.
Not all light comes at the same price
In Maxwell, like in any other render algorithm, there are light paths that are easier to resolve than others, so some are faster to clean than others. So quite simply, the more ‘fast light’ in your scene, the faster your render time will be.
Generally speaking, the different light types in Maxwell are (in descending order of speed):
1. Direct emitter lamps (the fastest light)
2. Direct environment, Physical Sky, IBL… (second in terms of speed when emitter and environment are both present. On exterior ‘open’ scenes with no emitters, environment light is the fastest)
3. Indirect light, bounced around different surfaces (the slowest light)
So, the more direct light you have coming straight from emitters, the faster your scene will be.
In this post we will show you some strategies for using direct emitter light to enhance the other two light types (environment and indirect) so you can help those noisy sources to clean sooner.
This idea derives from photographers using complementary light sources on interior scenes which to allow them reduce the sensor ISO, for less grain on the final image. For Maxwell the idea is much the same, adding fast light to help the slower light, thus reducing the noise in the final image.
Improving a sky lighting scene
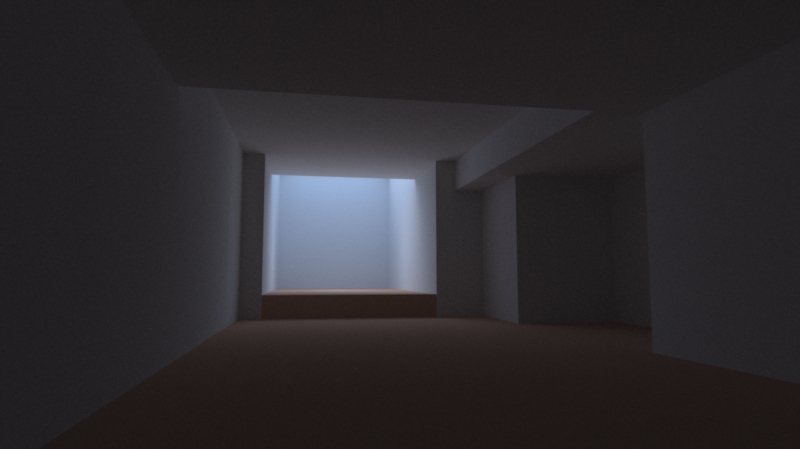
Here we will look at how to reinforce the environment light entering a room using some light emitters. The environment here is a Physical Sky on an overcast day (no sun), that produces a soft illumination coming from all around and entering the room through the windows and bouncing around.
The render took 9 minutes (on a i7-3930K) and still shows quite a lot of noise. Let’s see if we can get something cleaner in the same time.
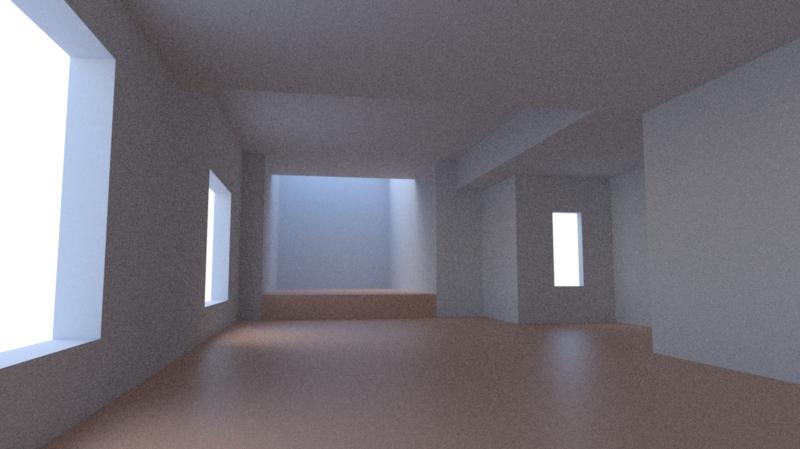
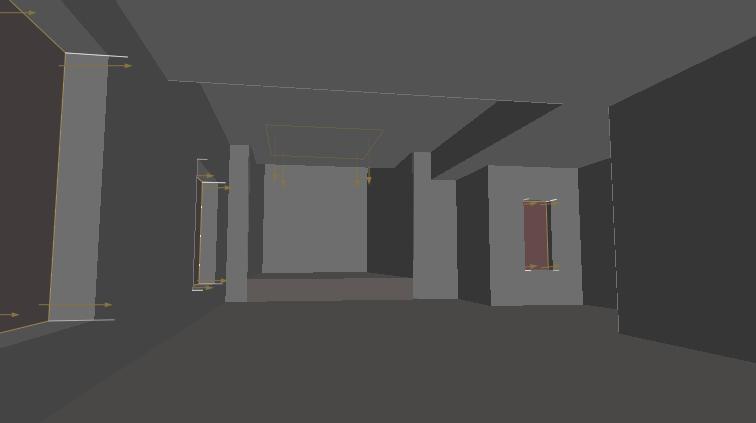
Aside from removing the dielectric glass on the window panes and using planes with an AGS (architectural glass solution) instead, we will also create some emitters with the same color and intensity as the environment light ([200, 220, 255] and 1 million watts) and make them invisible so we can still see the background behind. The recipe to set an emitter to invisible is hiding from camera (on the object properties panel) and adding a vacuum BSDF to the emitter material (vacuum material is, by definition, pure transparent, so Transmittance color is pure white, and Nd exactly 1.0). You can find more information about invisible emitters in our Support Center here .
By placing these emitters at each window pointing inwards to reinforce the light coming through (as shown in this diagram) it allows us to get a cleaner render in the same time (9 minutes). Notice the emitter in the roof window as well.
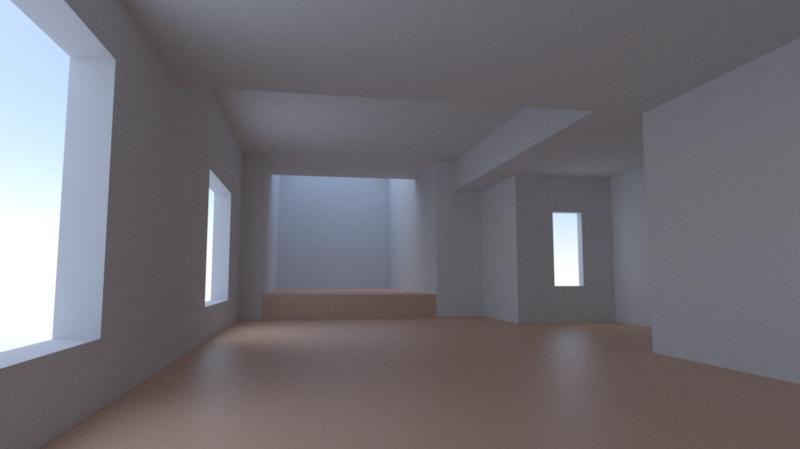
You can also use Multilight to adjust the balance of the different lights, so it’s a helpful tool to adjust the contribution of the environment (which is noisier) and the emitter light (which is cleaner).
Improving indirect light
In situations where the light is not directly accessing the scene, and all the light is therefore indirect, bounced light (the slowest kind), it is very difficult for any raytracer to solve. It is hard for a ray cast from the camera to finally find a light source after thousands of random bounces.
This is the result Maxwell gives in 10 minutes under these conditions:
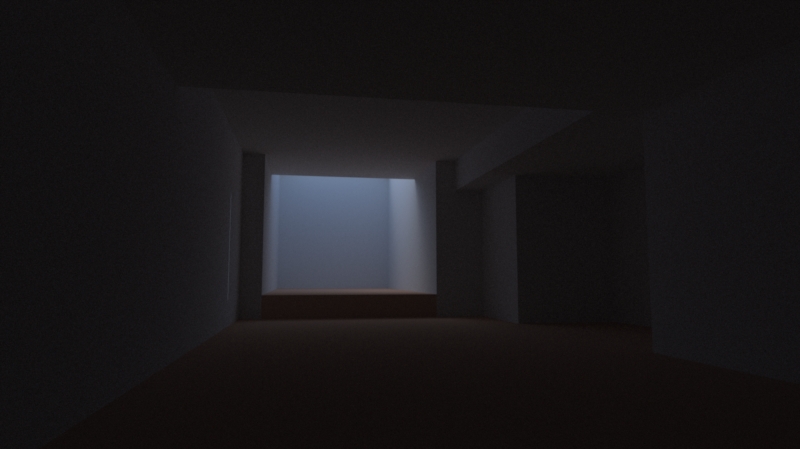
Still noisy, and again we will try to help this light source by using fast light (emitters).
For this scenario, we will also use an invisible emitter, this time hemispherical to spread light all around, and place it at the end of the room, as described in this scheme. With the help of this invisible emitter, the render got way cleaner in much less time (7 minutes and 15 seconds):
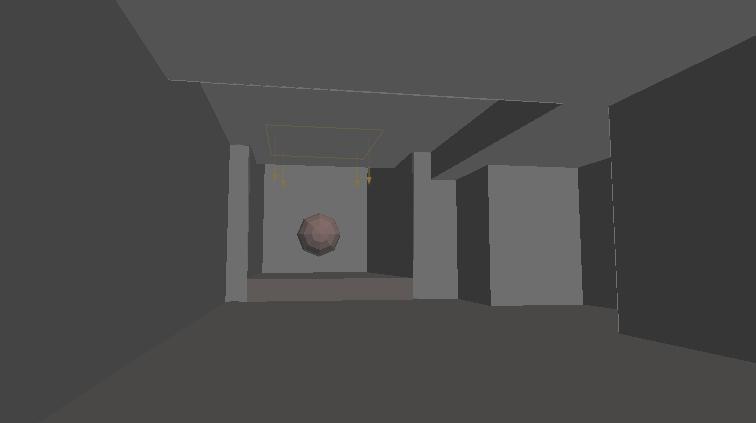
As we are adding more light sources we are also adding more light intensity, and so the render can become brighter, so you may need to adjust the camera exposure if you want to turn it back to your original exposure. The resulting look would be almost identical, but with a higher proportion of fast light than before.
Improving sky and sunlight
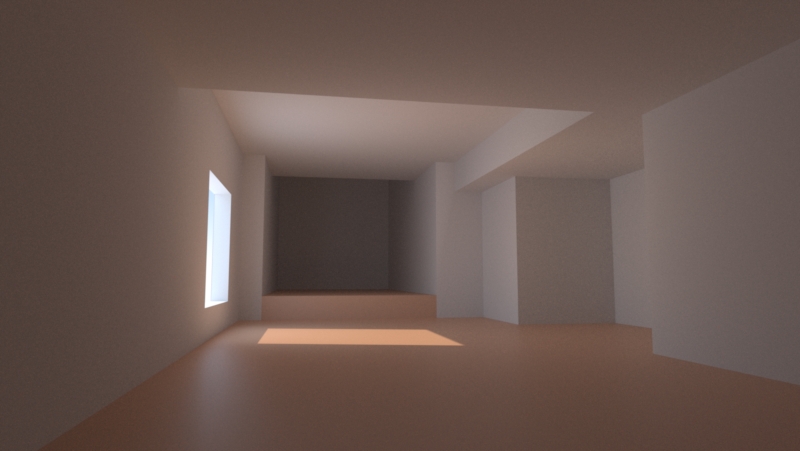
This time we will look at a scenario where the sun is directly entering the room. The rectangular area in the floor that is directly lit by the sun acts as source of secondary indirect light, which bounces from there to light the rest of the room. This time we can add a rectangular invisible emitter that mimics the shape and color of the illuminated floor, to boost the bounced light. We add another emitter on the window to boost the environment light as well. Same idea: to convert a difficult lighting situation in an easier one by adding fast, direct light to help the slower ones.
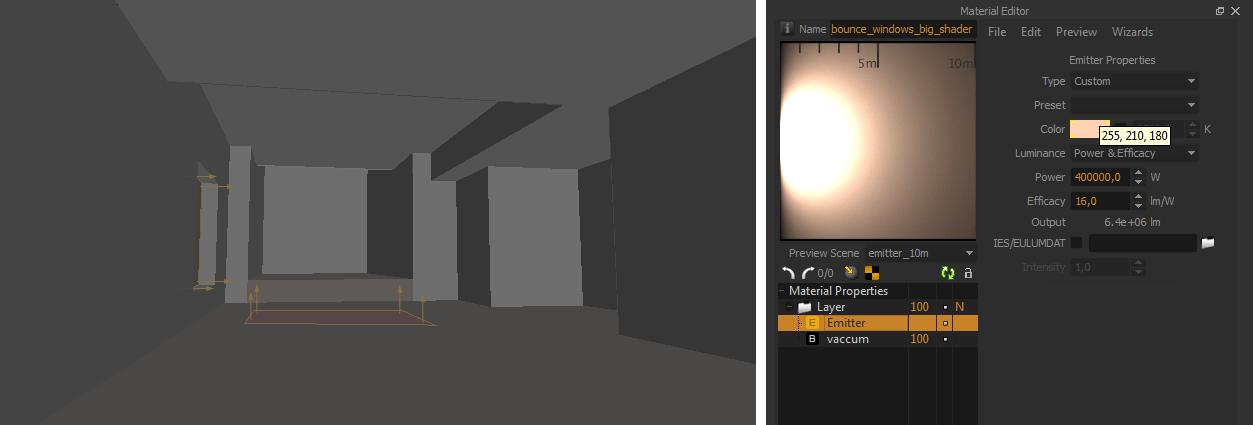
We got the original noisy render in 8 minutes and 20 seconds, and we’ve now reduced it to half of that time, and with a cleaner image (4 minutes and 15 seconds). Again, some camera exposure may be needed if you want to match the exposure of the original test, but the image is way cleaner than before.
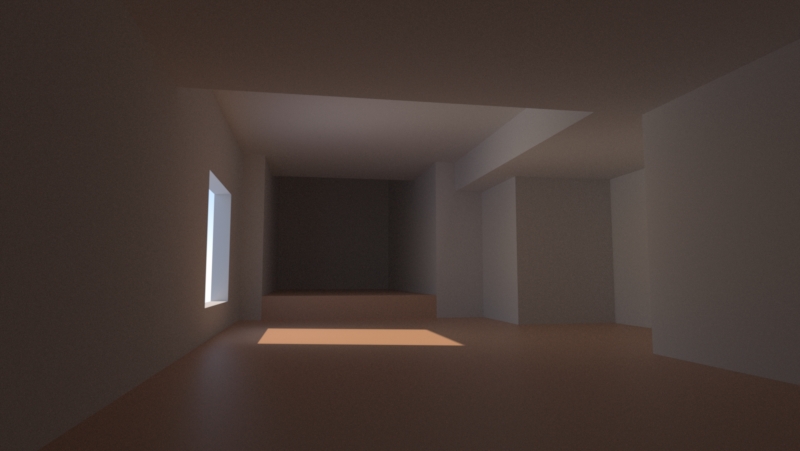
A final note
We would like to reinforce the idea that these techniques aren’t faking reality. In fact, these are techniques similar to those which have been used by photographers for decades, to reduce the grain in unlit areas. The behaviour of the engine and the light remain physically correct, whilst the reality you present is easier for it to solve than the original one.
We hope you find these techniques interesting and helpful, not only to reduce your render times in difficult scenes, but also to find inspiration from the classic lighting techniques from photographers who, like us, work with reality but still have room to adapt it to their needs.
They are one century ahead of us in experience, so they have a lot of tips to teach us!
Have fun!
Dario Lanza

