An Efficient Method for Rendering Frosted Glass
 Hi Dear Friends!
It’s Tom here again. 🙂 First of all, thank you so much for showing such an interest in my previous articles, I’m really happy to hear you’ve found them useful. Today, we’re going to look at an efficient method for rendering frosted glass. Ever since the introduction of single-sided SSS, it’s been widely used for rendering vegetation, lamp shades, cloth and paper… And maybe some of you have already used it for rendering frosted glass. In this article, I want to share some tips how to do it… I promise it won’t be too long. So, let’s go!
What is frosted glass?
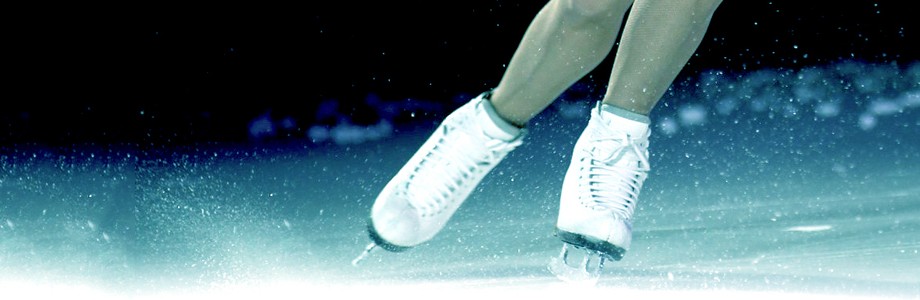
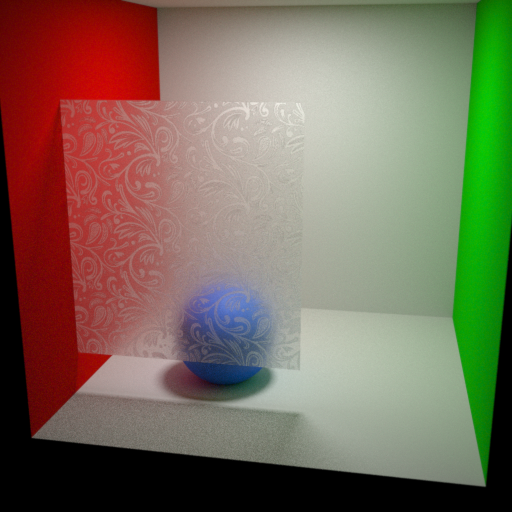
 Frosted glass is produced by sandblasting or acid etching a clear sheet of glass. This treatment effectively renders the glass surface translucent by scattering light during transmission, thus blurring images while still transmitting light.
Frosted glass has a wide range of uses for interior renders such as bathroom panels, cupboard panels, tables etc. but the problem is that can take a long time to clean up compared to the rest of scene elements. Glass as a refractive material is always costly in computation, and the increased roughness of frosted glass naturally makes it less efficient, due to increased complexity of the maths for simulating the diffusion of rays on the surface. Combine this with heavy indirect lighting and multiple frosted glass panels, and you push it over the edge!
 Does it really have to be made of glass?
If you’re after frosted glass panels rather than a vase, a statuette or something which has a thick refracting volume, this method can save you time. So how does it work? Let’s go step by step…
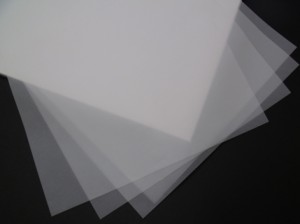
Acrylic panels are often used to replace frosted glass successfully, so what about using tracing paper? It doesn’t look any less like frosted glass, and we can mimmick it easily with single-sided SSS.

The key here is that we are replacing thick geometry with single-sided geometry. Therefore, you can replace a typical glass panel (a box) with a simple plane. In order to simulate rough reflections and refractions, we are going to use the scattering feature.
A more in-depth look at the material composition
Asymmetry is the key for adjusting the amount of frosting you want. In this case, we need negative asymmetry which is -0,850 as in the given example. Reflectance, Transmittance, Nd and Roughness can be the same as we would set in a typical rough glass, because single-sided SSS will only replace the effect behind the glass surface. If you would like it to be more diffuse, increase the asymmetry or if you like it less diffuse, simply decrease it. Anything else can stay intact, unless you don’t like the surface reflections to be polished. This is what we see in the image on the left below.
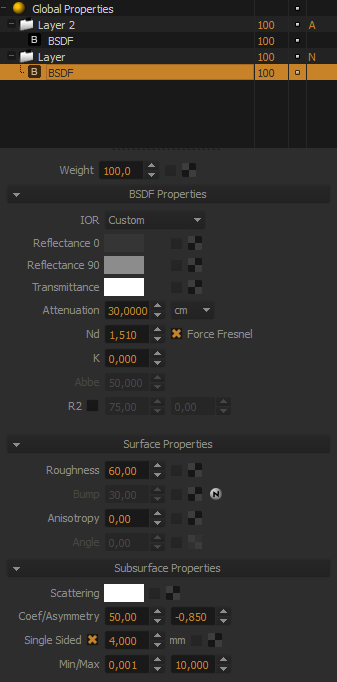

As you see, I’m using 2 layers in this composition. The second layer (on the right-hand image above) is an extra touch to get the imitation closer to a real look. If you disable the bottom BSDF and render this layer alone, you will see a black and white velvet look.
What is the magic of the second layer?
The second layer quite essential because, in real frosted glass with physical thickness, the light bounces numerous times before it leaves the object. This is known as TIR (Total Internal Reflection) and it gives a velvet glow on the grazing angles of frosted glass. Without it, the emulated panels will look dull and dark from certain angles. So, let’s take a look at the difference on this drapery preview scene:

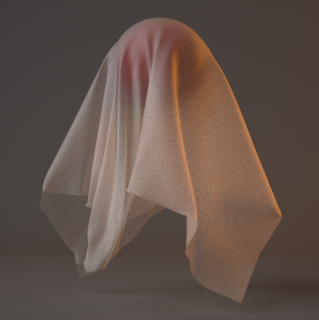
On the left, it looks more like tracing paper than a frosted glass because it feels really thin due to insufficient internal reflections. With the help of a second layer (on the right), you see the grazing angles come to life which gives it a more glassy feel.
So is it really faster than frosted glass?
When comparing single panel scenarios, you may find the results are not remarkably faster than frosted glass. However, for rendering many panels together it’s seriously faster than doing the same using the traditional method. Clearly the look won’t be exactly the same as a thick frosted glass panel, but I think you’ll agree that this alternative method provides a pretty decent look for general usage. The images below are comparisons rendered for exactly the same amount of time.
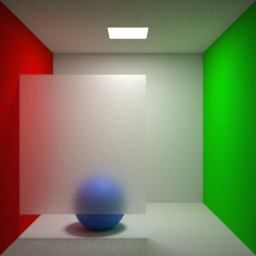 Fast Method Fast Method |
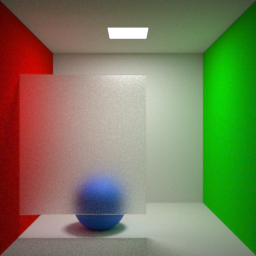 Normal Method Normal Method |
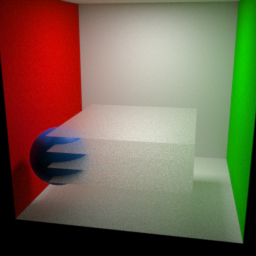 Fast Method Fast Method |
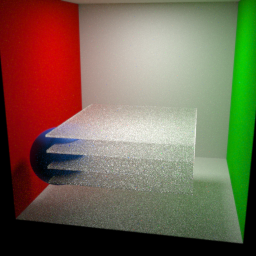 Normal Method Normal Method |
Use your illusion…
Is it rendering quickly enough? Why not put some textures into action and create limitless possibilities? You can do it in color, multiple colors, bumpy, cut-out and so on, while still rendering at full speed 😉 I hope you like it. See you in another article…

< CLICK ICON TO DOWNLOAD
FAST FROSTED GLASS MATERIAL