We are very honored to introduce #Xpert Trainer Toni Fresnedo to the blog this week. Toni is an extremely talented and experienced user of 3ds Max and Maxwell Render, and provides visualization services as well as distance/online training. Toni lives and works in beautiful Barcelona, Spain. Check out his awesome work here on his web or Facebook page. Thanks for the tutorial Toni!
The key to creating realistic glass is in the reflections and the modelling. As with all reflective materials, it’s very important that the environment is as real as possible. The illumination of the scene is also essential: HDRI is probably the best option although others such as Maxwell’s Physical Sky should not be overlooked. And it’s important to always model your objects with real thickness.
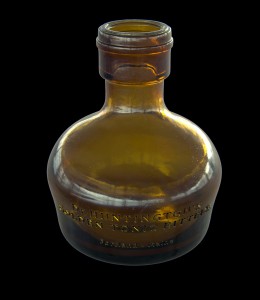
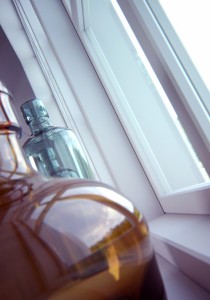
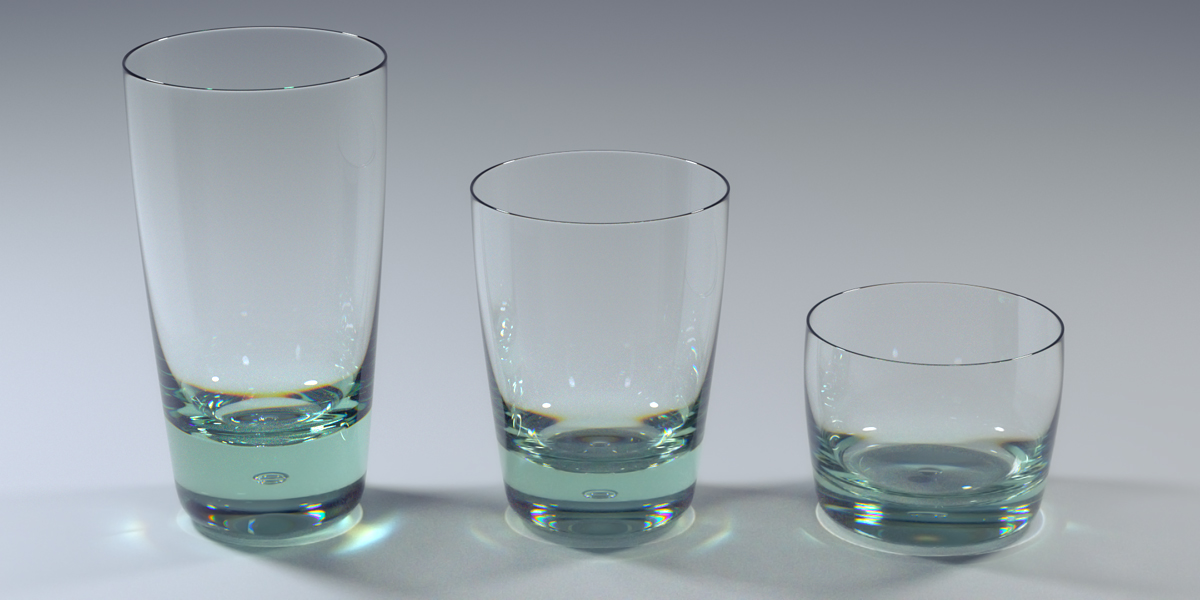
Maxwell Render allows us to create basic glass (image on the right) or more detailed glass (image on the left) very quickly and easily with amazing results, thanks to its Material Editor and the way it calculates light.
In this article I will explain the steps to create glass materials, starting with a basic glass and then adding additional touches to get to more detailed effects.
1. OPEN THE SIMBALL
One of the components of Maxwell Render is Maxwell Studio: a sophisticated scene editor with a full 3D environment. Maxwell Studio includes a sample scene (the Simball scene) designed specifically for testing any type of material, including transparent and translucent materials like glass. If you are not familiar Studio, you might like to refer to the default layout map below to help orientate yourself around the panels. I will also add notes in italics for those who are new to the Studio layout or to Maxwell in general.
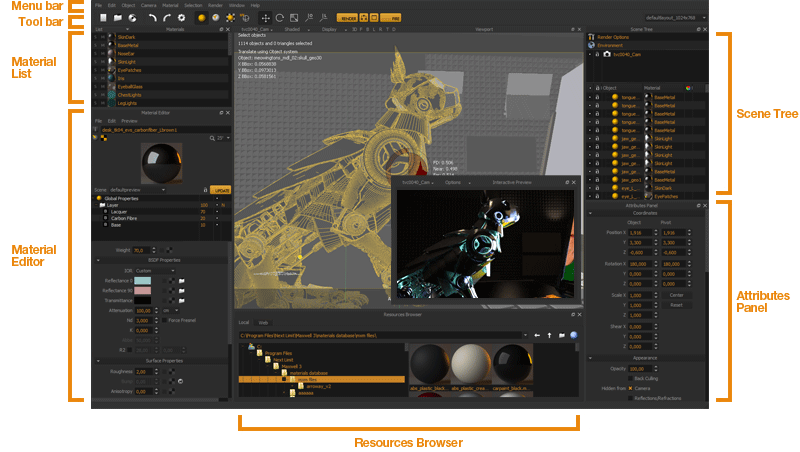
We begin by opening the scene, so go to File > Library > scenes > simball > simball_v2. We will use it as the starting point for our work.
2. CREATE A NEW MATERIAL
To create a material, right-click on the Materials panel (top left in the default layout) and select New Material > Custom. When the new material appears on the list, you can right click to rename it. The material will now be active in the Material Editor, however this does not automatically assign it to the object. To assign the material, select Test Object in the Object panel (middle right in the default layout), then right-click and select Assign Material, then scroll to the name you gave your newly created material. Alternatively, just drag the new material onto the object directly.
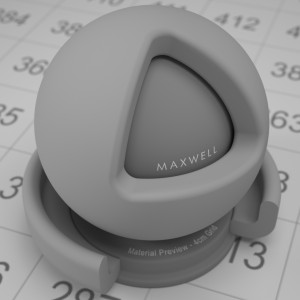
3. LAUNCH MAXWELL FIRE
Now hit the FIRE button in the Maxwell shelf to launch Maxwell FIRE (the interactive preview renderer) in a floating window. This will give you immediate feedback about all the changes that you are going make to the new material. You can also switch a main window panel to a FIRE display, but I recommend using a floating window, since this provides more options and frees up space for other on-screen elements in the main window.
4. SET REFLECTANCE COLOR
In the Material Editor, in the BSDF Properties rollout, change the colour swatches next to Reflectance 0 and Reflectance 90 to pure black. These swatches enable you to apply a tint to light reflected directly from the surface and reflected at a glancing angle. This is useful when recreating objects like pearls. By editing them to any desaturated color, like black, you are therefore applying no tint on the reflections, which is what you need for glass.
5. SET ROUGHNESS
In the Surface Properties rollout, set the Roughness value to between 0 and 5 for smooth, shiny glass, or between 5 and 30 for rough glass. Back in the BSDF Properties rollout, choose an overall color for your glass by setting the Transmittance color swatch. For the first test below I have used HSV: 33/224/210. Transmittance controls the color of light when it passes through a transparent material. The Transmittance swatch represents the color of the light when it has reached the Attenuation distance. We will set this next.
6. SET ATTENUATION DISTANCE
You will have noticed that the material doesn’t look transparent yet. This is because the Attenuation distance is set very low, which means that light rays don’t penetrate far into the material. If you increase this value, allowing light rays to penetrate further, the transparency increases. For our purposes, we can set Attenuation to a value of around 3cm (set the numerical value to 3 and select CM in the units dropdown).
7. MORE ABOUT ATTENUATION
Attenuation distance defines the depth to which light penetrates into the body of the material while it is being absorbed. Use long attenuation distances for pure, clean, transparent glasses with very little tinting (where the light travels through with very little absorption), and short attenuation distances for glasses with a more obvious coloured tint.
8. FINAL SETTINGS
Activate Force Fresnel. This ensures that the light reflected and refracted from the material will be calculated using the Fresnel equations. This ensures that the result is physically correct. The Nd field sets the Index of Refraction (IOR) for the material. Type in the correct IOR value for the type of glass you are creating. Glass ranges from 1.5 to 1.6, but in this case we are going to use a value of 1.517. You should now have a basic glass material that looks something like the image below.
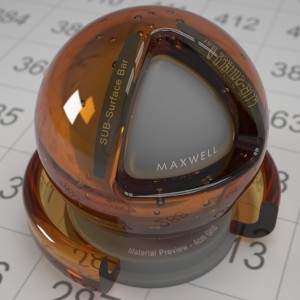
9. AGEING THE GLASS
To mimic the ageing on the vintage bottle shown above, you need to create a pattern of fine scratches. You can use a texture map to do this. This can be assigned to the Roughness channel, the Bump channel, or both; we are going to use a simple bump map. On the BSDF Properties rollout, go to the Bump slot and assign a suitable texture map (available for download at the end of the post) with a Bump intensity of 3.
10. ADDING LETTERING
To add the raised lettering, you can use displacement. Back in the Material Editor, add a Displacement component to the material structure (you can do this by right-clicking in the layers list area of the editor, or from the Edit menu) and use the Map field to assign a suitable greyscale height map representing the letters on the bottle (example available for download at the end of the post). Set Type to Pretessellated. This means that the mesh will be subdivided to create the displacement at the start of the render process.
11. UNDERSTANDING DISPLACEMENT
In Pretesellated mode, the mesh is subdivided and displaced before the render starts. This requires more RAM, but once the geometry of the scene has loaded into memory, the render is much faster than using the On The Fly option, which performs the subdivision and displacement of the mesh at render time. This requires less RAM – so it may be necessary for very large scenes – but increases render times. In general, it’s best to use On The Fly only for relatively small displacements.
12. SETTING SUBDIVISIONS
Set the Subdivision value to 12, and leave Subdivision Method set to Flat. Set Offset to 0 (this parameter determines what greyscale value on the texture represents zero displacement). Enable Smoothing, and set UV Interpolation to Edges and Corners. Finally, in the HeightMap Properties rollout, set Height to 0.3 cm. And that’s it! If you look in the Maxwell FIRE floating window, you should see that you have created a realistic vintage glass material.
BETTER DISPLACEMENT
Get the map resolution right. Use textures larger than 8-bit for displacement maps to avoid problems with banding in the final render: 16-bit images are perfect. Also, remember that when using displacement, maintaining low RAM consumption is a balance between the original mesh density and the number of subdivisions applied at render time. If your original mesh is too coarse, the renderer will be forced to apply a high number of subdivisions to accommodate all the detail you are after, running the risk of running out of RAM. A displacement map is available for download at the end of the post.
< CLICK ICON TO DOWNLOAD DISPLACEMENT AND TEXTURE MAPS

