The Artist 
Mirče Mladenov is a talented CG artist and Maxwell Render user from Slovenia. He is the owner of renderji.com and has been creating visuals for the last seven years, working mainly on architectural illustrations, this being his field of education. Mirče kindly agreed to talk to us about one of his favorite projects.
Make sure you check out the renderji.com web where you can get the 3D Rex chair model for free! On his Facebook page you can follow regular updates on Mirče’s current projects.
The project
I was looking for a 3D model of the Rex chair (a famous Slovene design piece from the 50s) and couldn’t find it online, so I decided to model it myself. I needed an environment to test the model, so I took an old interior project I had and removed all the materials and furniture. I redesigned the space as if I was doing my own apartment, and looked for a nice corner to place the chair.
The objective
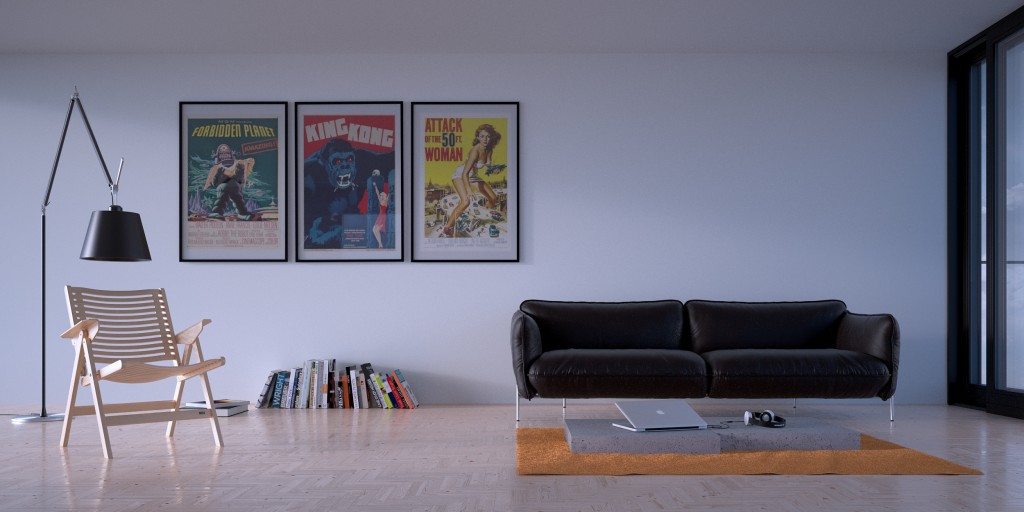
I produced the image when I was putting together the company portfolio, just before launching the business. I felt like I needed a nice interior shot, so I decided to do a personal project without any client restrictions. I approached it more or less as a composition and lighting exercise.
 Inspiration & Influences
Each project has its own requirements, so I usually talk to the client about what needs to be shown on the images, what are the points that I need to emphasize. I then prepare a mood board, with reference images and items that could work with the agreement, and then I start building the environment, setting up the materials and lighting.
After these things are all set, I think the inspiration comes from within the project. It often happens that you fiddle with a model for hours, trying do make an attractive presentation, but then, when thing start shaping up and you see the first realistic results, you get really motivated and inspired, because you slowly start to see how it will look when finished.
Using Maxwell Render
I used Maxwell throughout the whole process, from testing the materials to the final image.
3D & Maxwell Beginnings
I think my love for 3D came from my obsession with video games as a child/teenager. I loved observing the technical advancements in the video game industry, from pixellated 8 bit graphics to full-on photorealistic immersive 3D environments. I was attracted to the idea that I can have feelings for a space that was created on a computer and – seems so real.
I started using Maxwell at the end of my first year of architecture school in 2007. I was attending a studio course, in which our professor would allow us to use any media we liked to produce the final posters.
A friend, who was kind of a render guru at the faculty told me I should try Maxwell.
The first test render that came out of it was this silly image shown below:
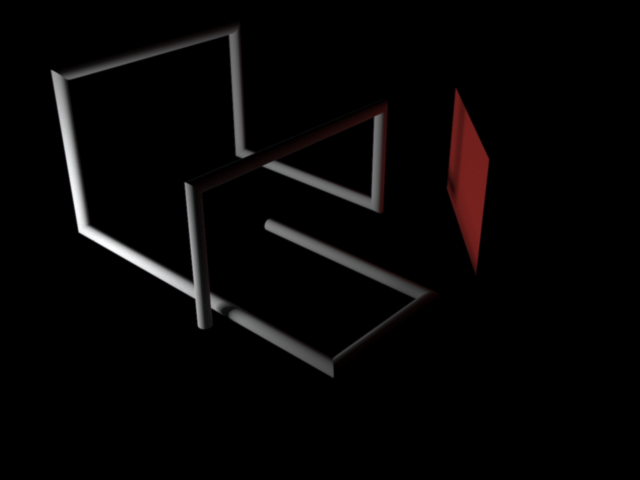
It is ridiculous when I see it today, but it blew my mind back then. The way the light interacted with the environment was so nice that I chewed through all the tutorials I could find and two days later produced this image:
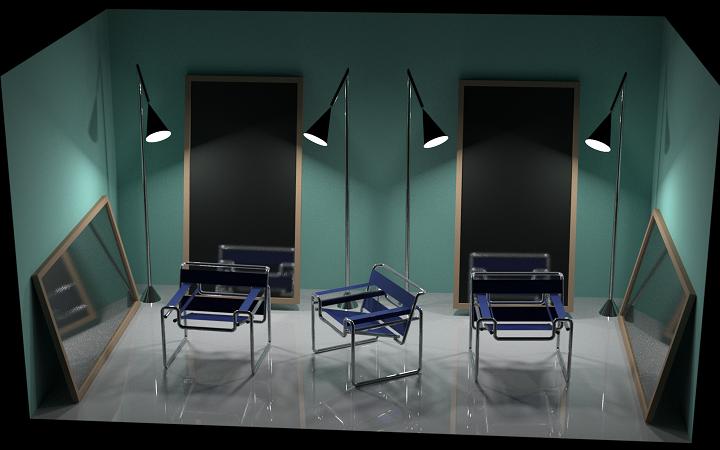
What I liked so much was that this piece of software gave me an option to create spaces on my computer that look so real, it was incredible. I tested some other software during my studies, but I hated the “plastic-y” feel of other engines and loved how Maxwell’s results had the most “natural light feel” so I just stick with it. It is still the only engine I use.
Multilight
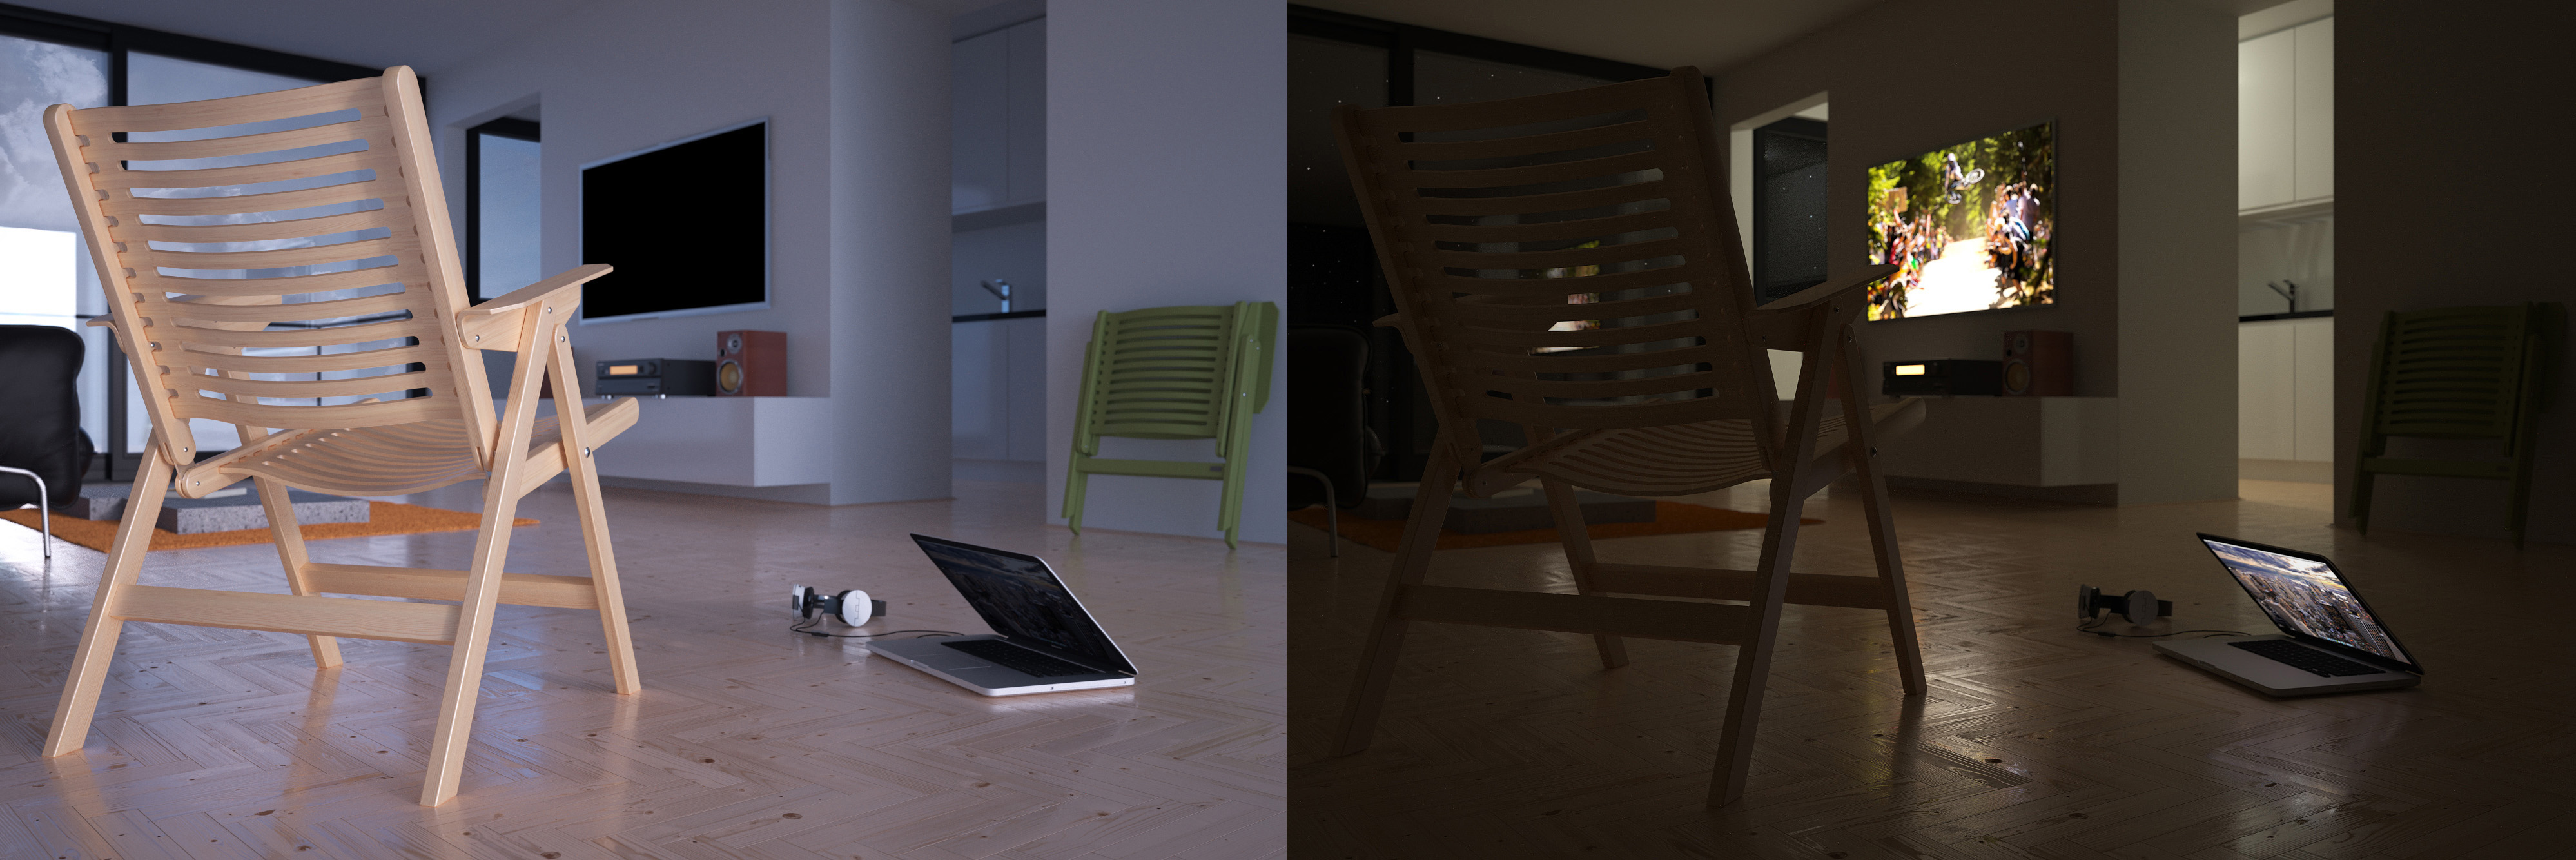
I always like having the possibility of finely tuning my light sources when I feel like it. I often come to some unexpected lighting scenarios that I really like and then use them in the final image. I did two more images of the same space just to show how this living room could look during the day and night – using Multilight.
FIRE
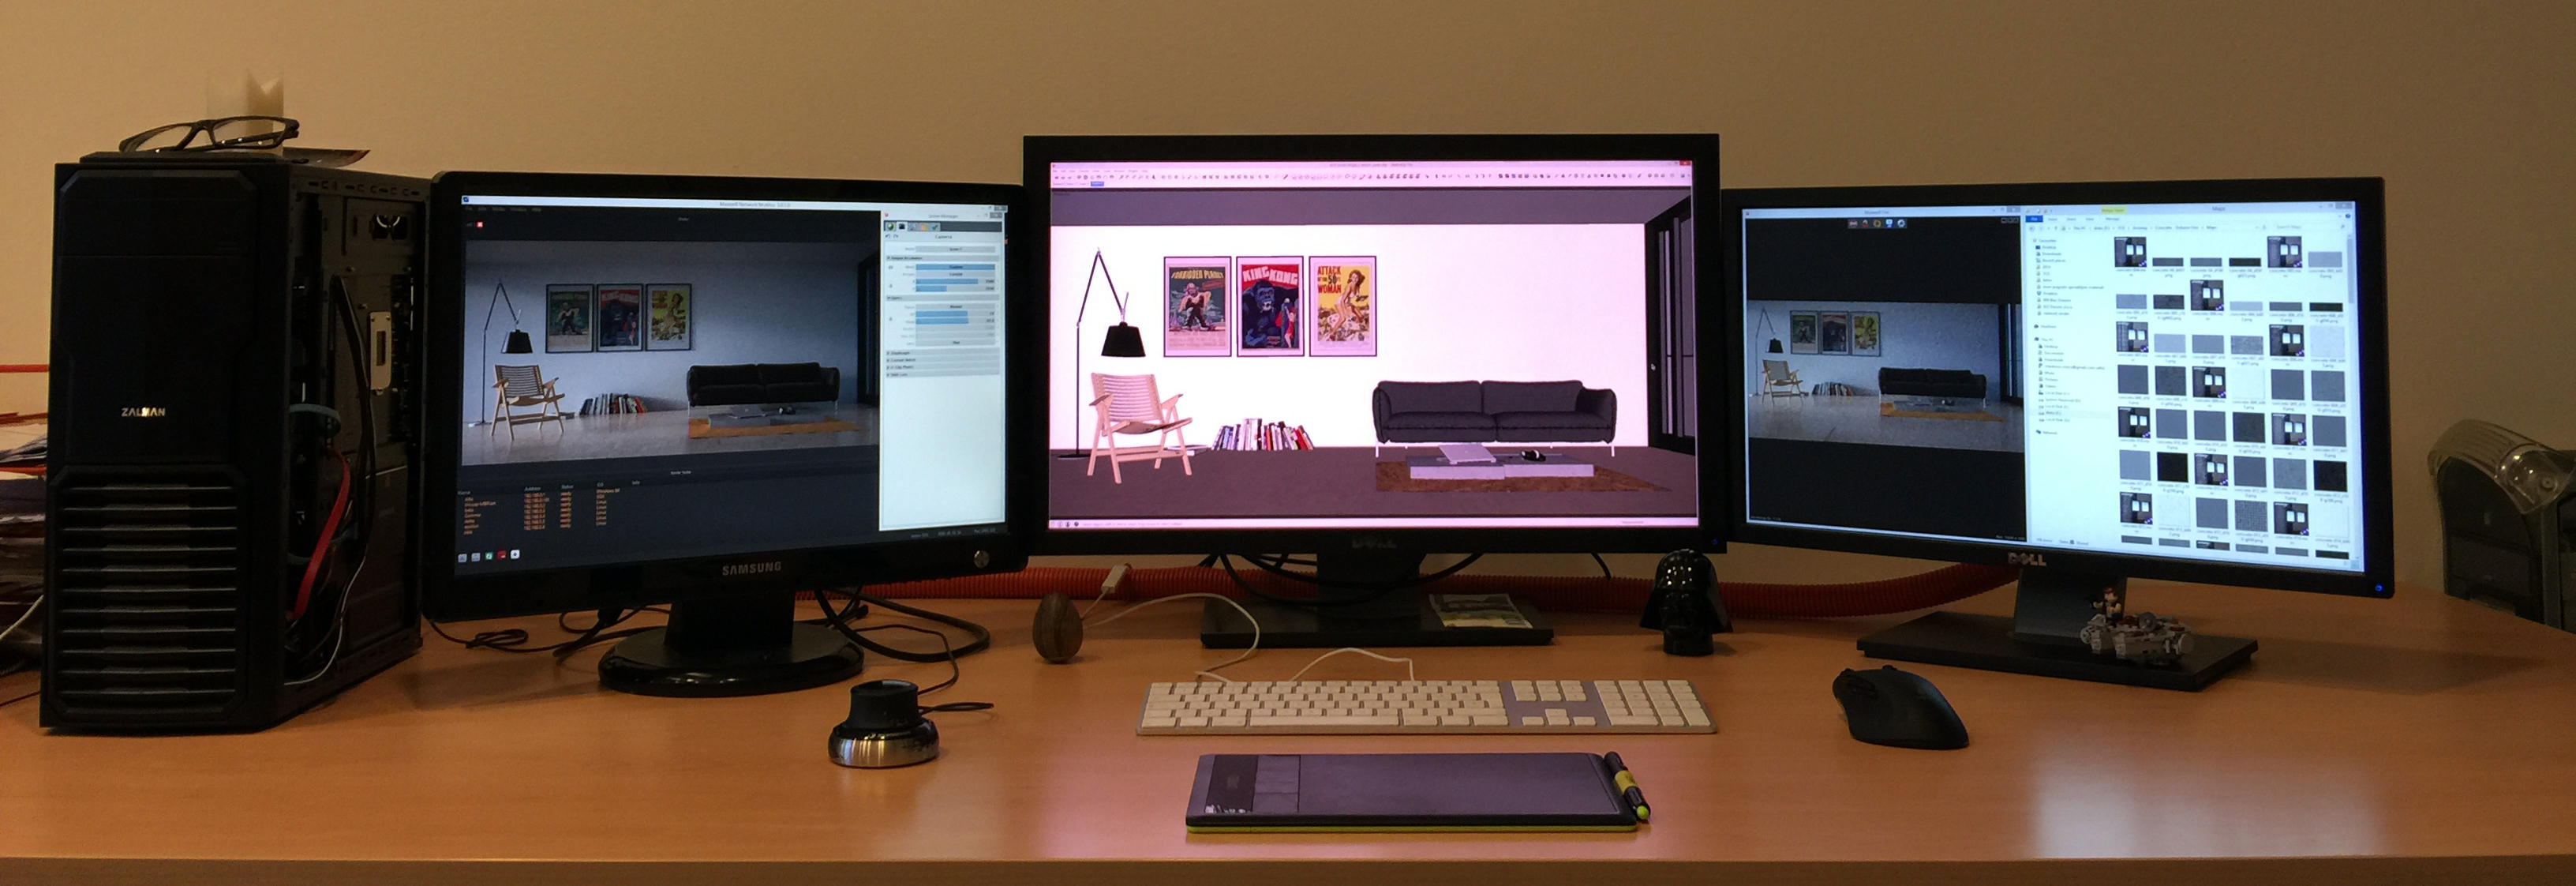
I usually model on one monitor, have the FIRE engine and resources window in another, and the network manager on a third one. I constantly test things in FIRE in real time, and every ten minutes or so I put the model to render to the production engine on my renderfarm. This is usually more than enough for me to achieve a sampling level so high, that I can see how things work in a higher resolution.
I love FIRE because it gives me on-the-fly preview of changes in the model and it helps a lot with setting up the composition, lighting, contrasts…
Favorite Maxwell Render features?
The ones mentioned above, for sure. I also like and heavily use the Grass modifier in all sorts of ways. I still use SketchUp as my main modeling tool, so I use proxies a lot in conjunction with Maxwell Studio. I do the scattering in Maxwell, also the Volumetrics and the Sea features are rather nice and useful.
Favorite V3 features?
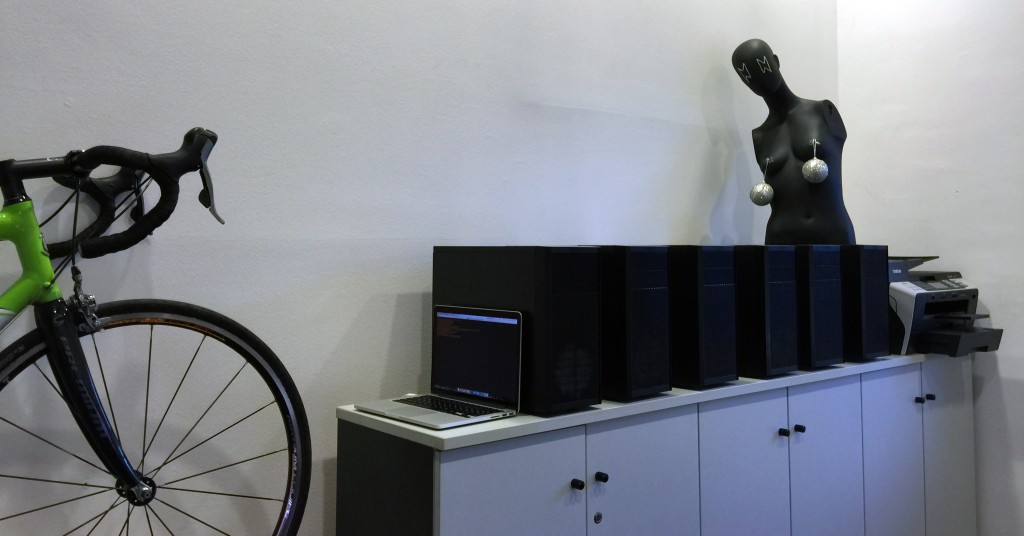
The whole V3 update had some nice features, but my favourite one is the floating license with 10 rendernodes included in the upgrade. When I decided to start making a living out of CG I invested a bit in a renderfarm. I handpicked the components, the main ones being i7 8 threaded processors, and built the computers myself.
It helped a lot that Maxwell is a multi platform (Windows, OSX & Linux) software. I saved a bunch of money by installing Linux on my machines, and I can also hook up my Macbook to join the calculation party.
It is fairly straightforward to set up and I cannot wait to test the new Network manager that is coming with the V3.1 upgrade.
Tips & Tricks
I am always looking for ways to optimize my workflow and speed up my production, and the best tip or trick I learned is to just keep paying attention to what is going on on the rendering scene. Websites, forums, Facebook groups, there is a bunch of people sharing their knowledge and experience. The Maxwell forum is for sure one of the great places you can always get feedback from the masters, regardless of how silly the question is.
MAKING OF: REX
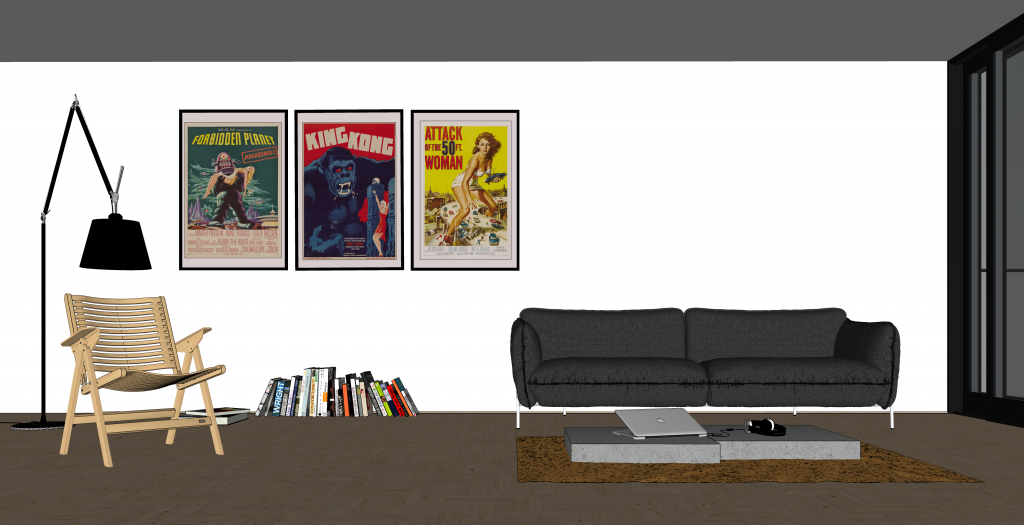
1. Modeling: The modeling was done in SketchUp, here is what the raw scene looks like:
 2. Materials/Textures: The materials are pretty simple, all of them are done with the SketchUp plugin, made from textures I found online or had in my collection. Some of them I got from the Maxwell material library and the floor texture is a slightly tweaked .mxm material from the Arroway Flooring collection.
3. Lighting: I used only an HDRI image to illuminate the scene.
4. Post Production: A bit of color correction.
5. Software used: SketchUp, Maxwell Render Suite, Photoshop

