 Hello everyone,
It is time to liven up the Maxwell blog! Maxwell is widely used in archviz, and interior design in particular. This post was written by a talented Italian artist called Jacopo Toniello. It is a beautiful personal project, and he has agreed to share some of the making-of process with us. Grazie, Jacopo! 🙂
The Artist
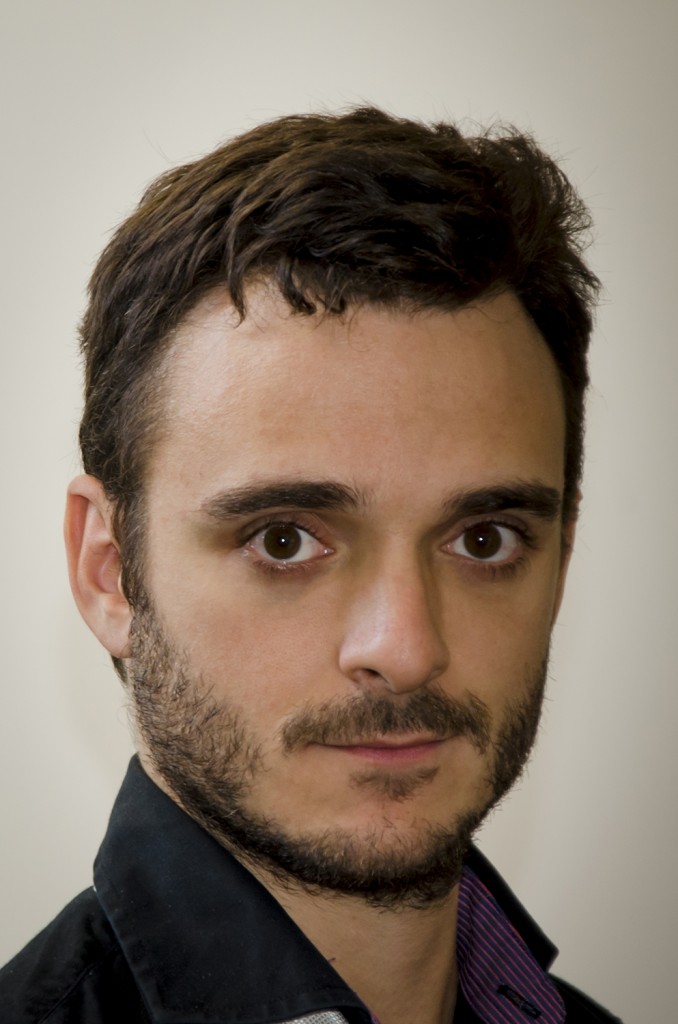
Jacopo Toniello is a 3D Artist, working at MHP Media, a company dedicated to interior design visualization. He specializes in the creation of materials and textures. Jacopo graduated from the program “Multimedia Communication and Information Technologies” at the University of Udine in 2013. His thesis project entitled “Lighting management of unbiased render engines” focused on Maxwell in particular. We now give the floor to Jacopo!
In my thesis I exposed the different algorithms used by rendering engines to model the propagation of light in a 3D scene, broken down by type: biased and unbiased. Biased algorithm achieves a compromise between photorealism and computation time, approximating properly the process of formation of the image. Unbiased algorithms instead are physically correct, but require higher calculation time than biased ones. The project, carried out with the modelling software Cinema 4D and rendered with Maxwell Render (unbiased engine), was an architectural project of a loft (ideally located in Conegliano – Italy). The project’s purpose was a high level of photorealism to observe how Maxwell Render operates. The main part of the project was the complex lighting system, which is created using credible data.
The Project
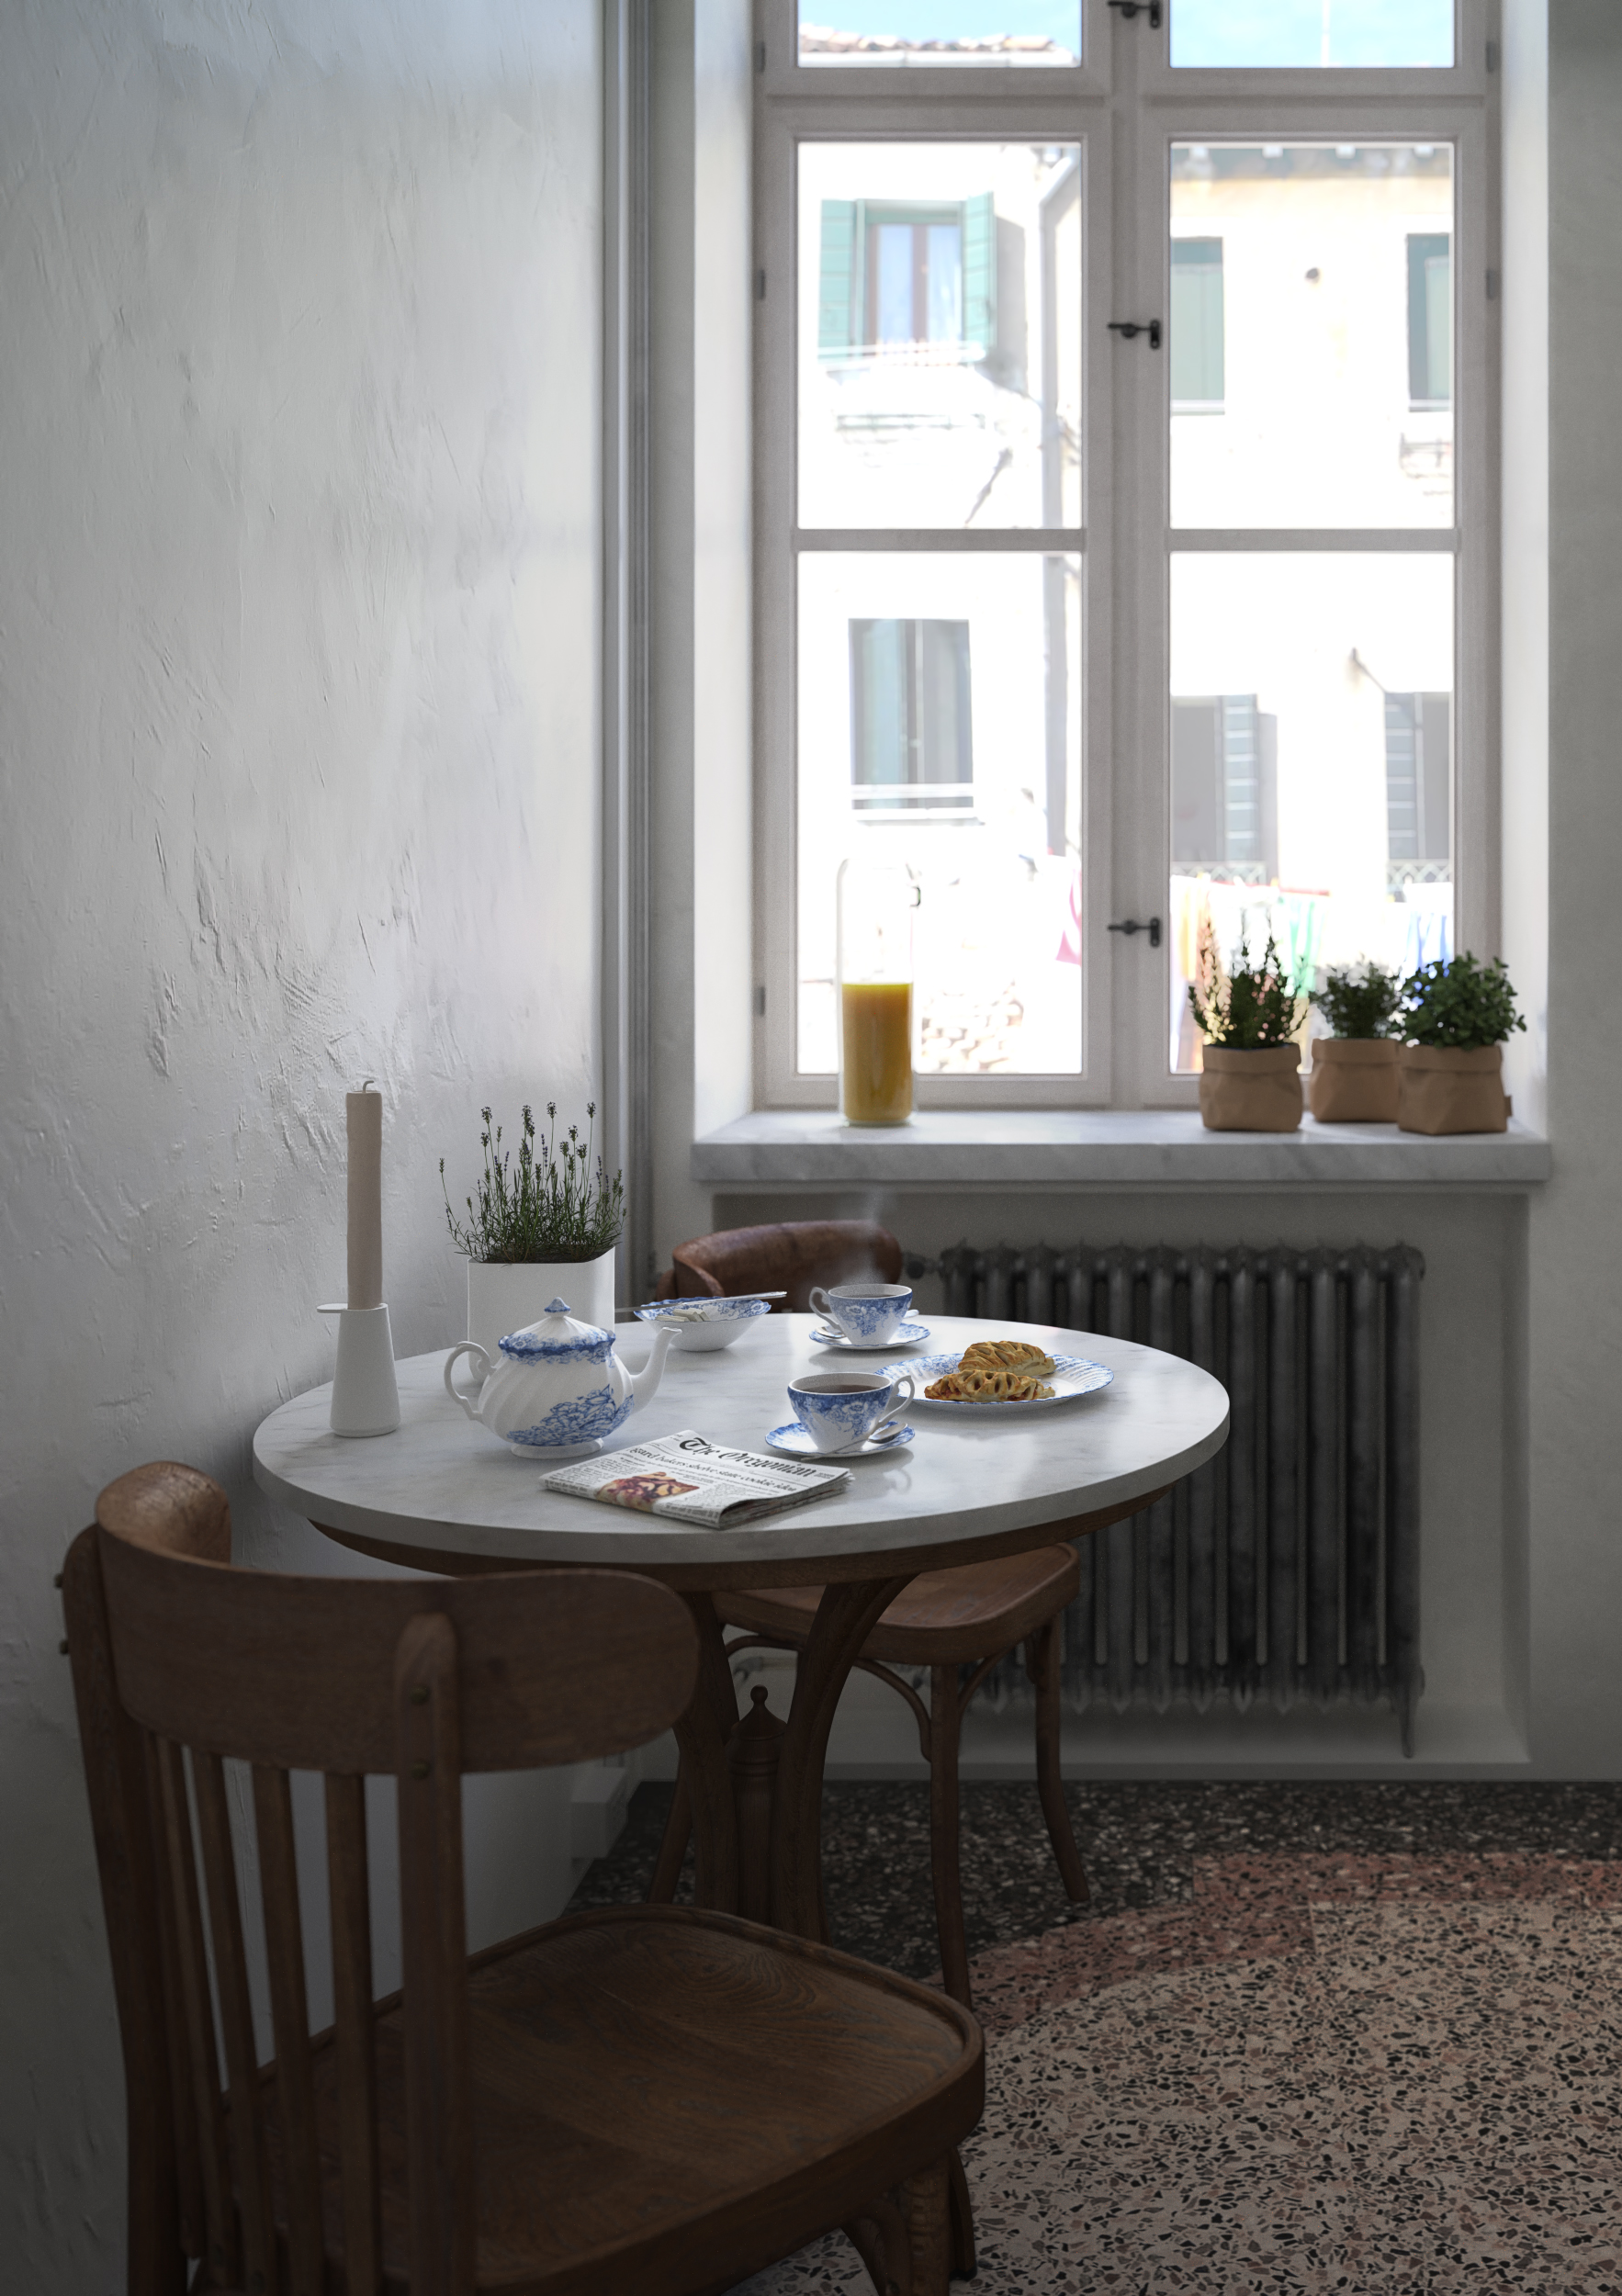
The selected render for this making-of is called “Appartamento Veneziano/Venetian Apartment”. It was done as a test to learn how to use the “volumetric tag” for the creation of the teacups’ steam. This render is only a test, not an image for a customer, for that reason it was inspired by a real shot/picture.
MODELLING
I used Cinema 4D for modeling and the plug-in of Maxwell Render for scene management. I also used Multilight™ and then Photoshop for the post-production. Some models used for the scene were already created and re-used for this experiment. Others, have been modeled for this occasion, following the original picture style.
Maxwell has two distinguishing characteristics that make it my preferred renderer of choice. The first one is its compatibility with Cinema 4D, which allows you to work all the pipeline without switching between different software and remaining in Cinema 4D working area. In this project, you can see the compatibility between materials, particles generated using Cinema4D and Maxwell Volumetric tags.
The other feature is Multilight™! It allows you to set lights and manage them in between the render and post-production. I recommend Maxwell users to take advantage of the full potential of Multilight™.
Next Limit have also recently released Multilight™ Standalone, for which you don’t even need Maxwell, and can play with a scene´s lights.
MATERIALS/TEXTURES
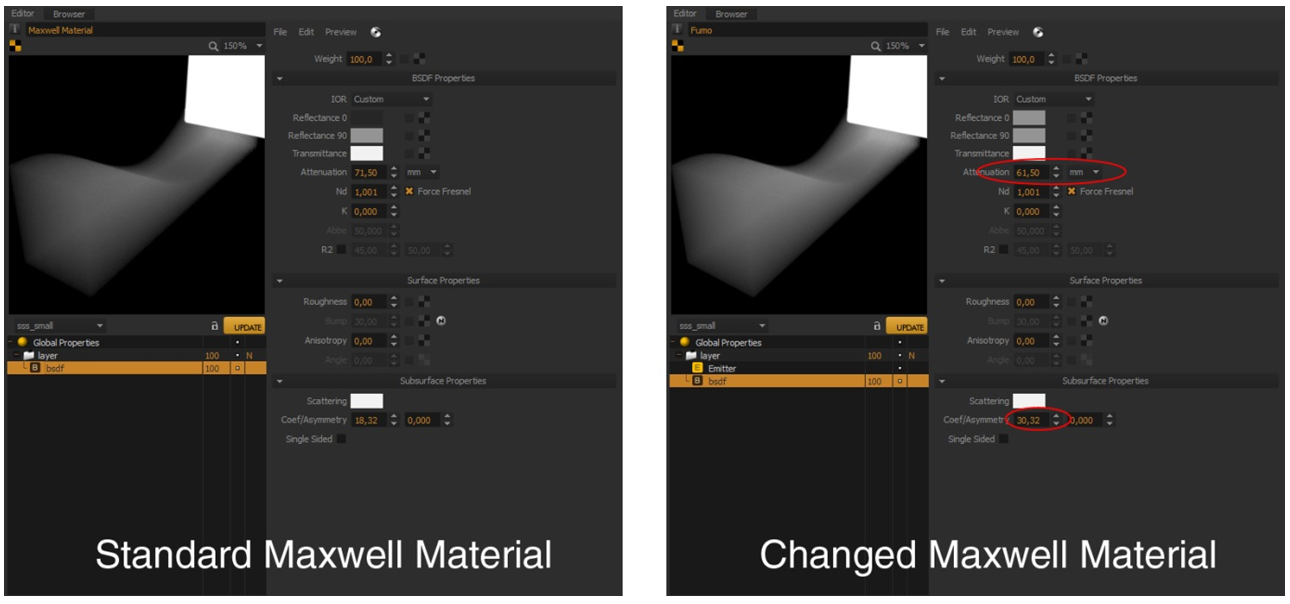
As for the materials, these had previously been created for other scenes and were then re-used here. The most important material for this scene is the steam. To identify the best parameters to create it, I studied its physical characteristics starting from the Maxwell default material data. Finally, I changed individually each parameter to identify the best combination for that particular environment.
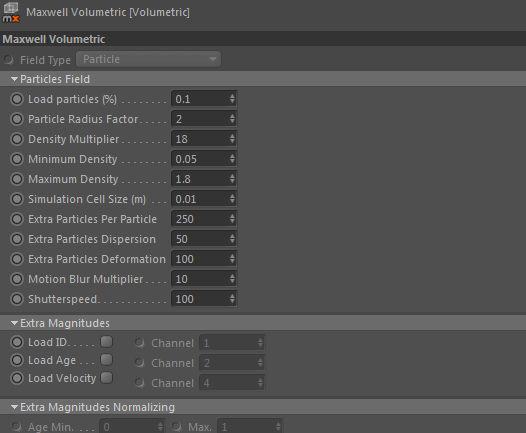
Later, I made several tests to find the best parameters for TAG Volumetric and for Cinema 4D particles’ generator.
ENVIRONMENTAL TOUCHES AND LIGHTING
The main goal of this render was to create a realistic image, in line with the original one. For this reason, I set the location and the time parameter to Venice at 10.30 am. The sunlight, coming through the window, is the main source of light. Then I also added two luminous panels, to create a photo shoot atmosphere in the room.
I set the Sky, camera and light parameters to be compatible with natural real-life ones. In this way, you can create a realistic image.
Furthermore, you can see a background image of Venice, outside the window. For more info about Maxwell’s approach to rendering read here.
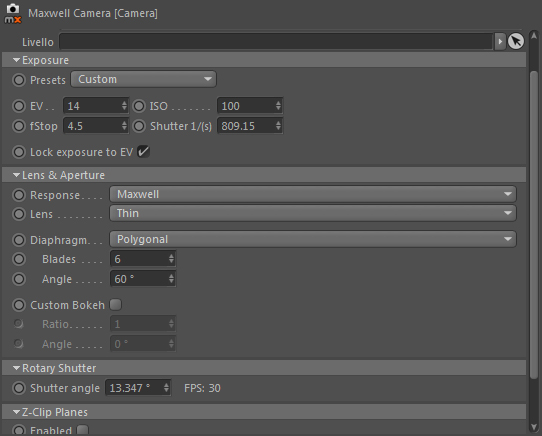
CAMERA
The camera parameters in this render are the following:
RENDER SET UP
The image has a definition of 2500×1766 px and has been rendered using the company’s render farm.
POST-PRODUCTION
The post-production was minimal.
I made some tests of lighting management with Multilight™Maxwell. Then, I used Photoshop to create a few test images that are different in shade, brightness and contrast.

FINAL SHOT