The Artist

Billy is a 24 year-old 2D and 3D artist from Sweden who has a passion for meticulous illustrations and models. He says he is very detail-oriented by nature, and takes great pleasure in getting the small stuff right. Now that he has finished his 3D graphics education, Billy works freelance, mostly for Quixel where he was also an intern. Quixel develops a Photoshop-based texturing suite using real-world scans for accurate reflection values and details.
Billy’s website and Facebook page are well worth a look, and here we have a case study that Billy has kindly shared with us. Thank you, Billy! Enjoy!
THE PROJECT
This project started out as a personal one, but then turned into promotional art during my internship at Quixel.
 THE OBJECTIVE
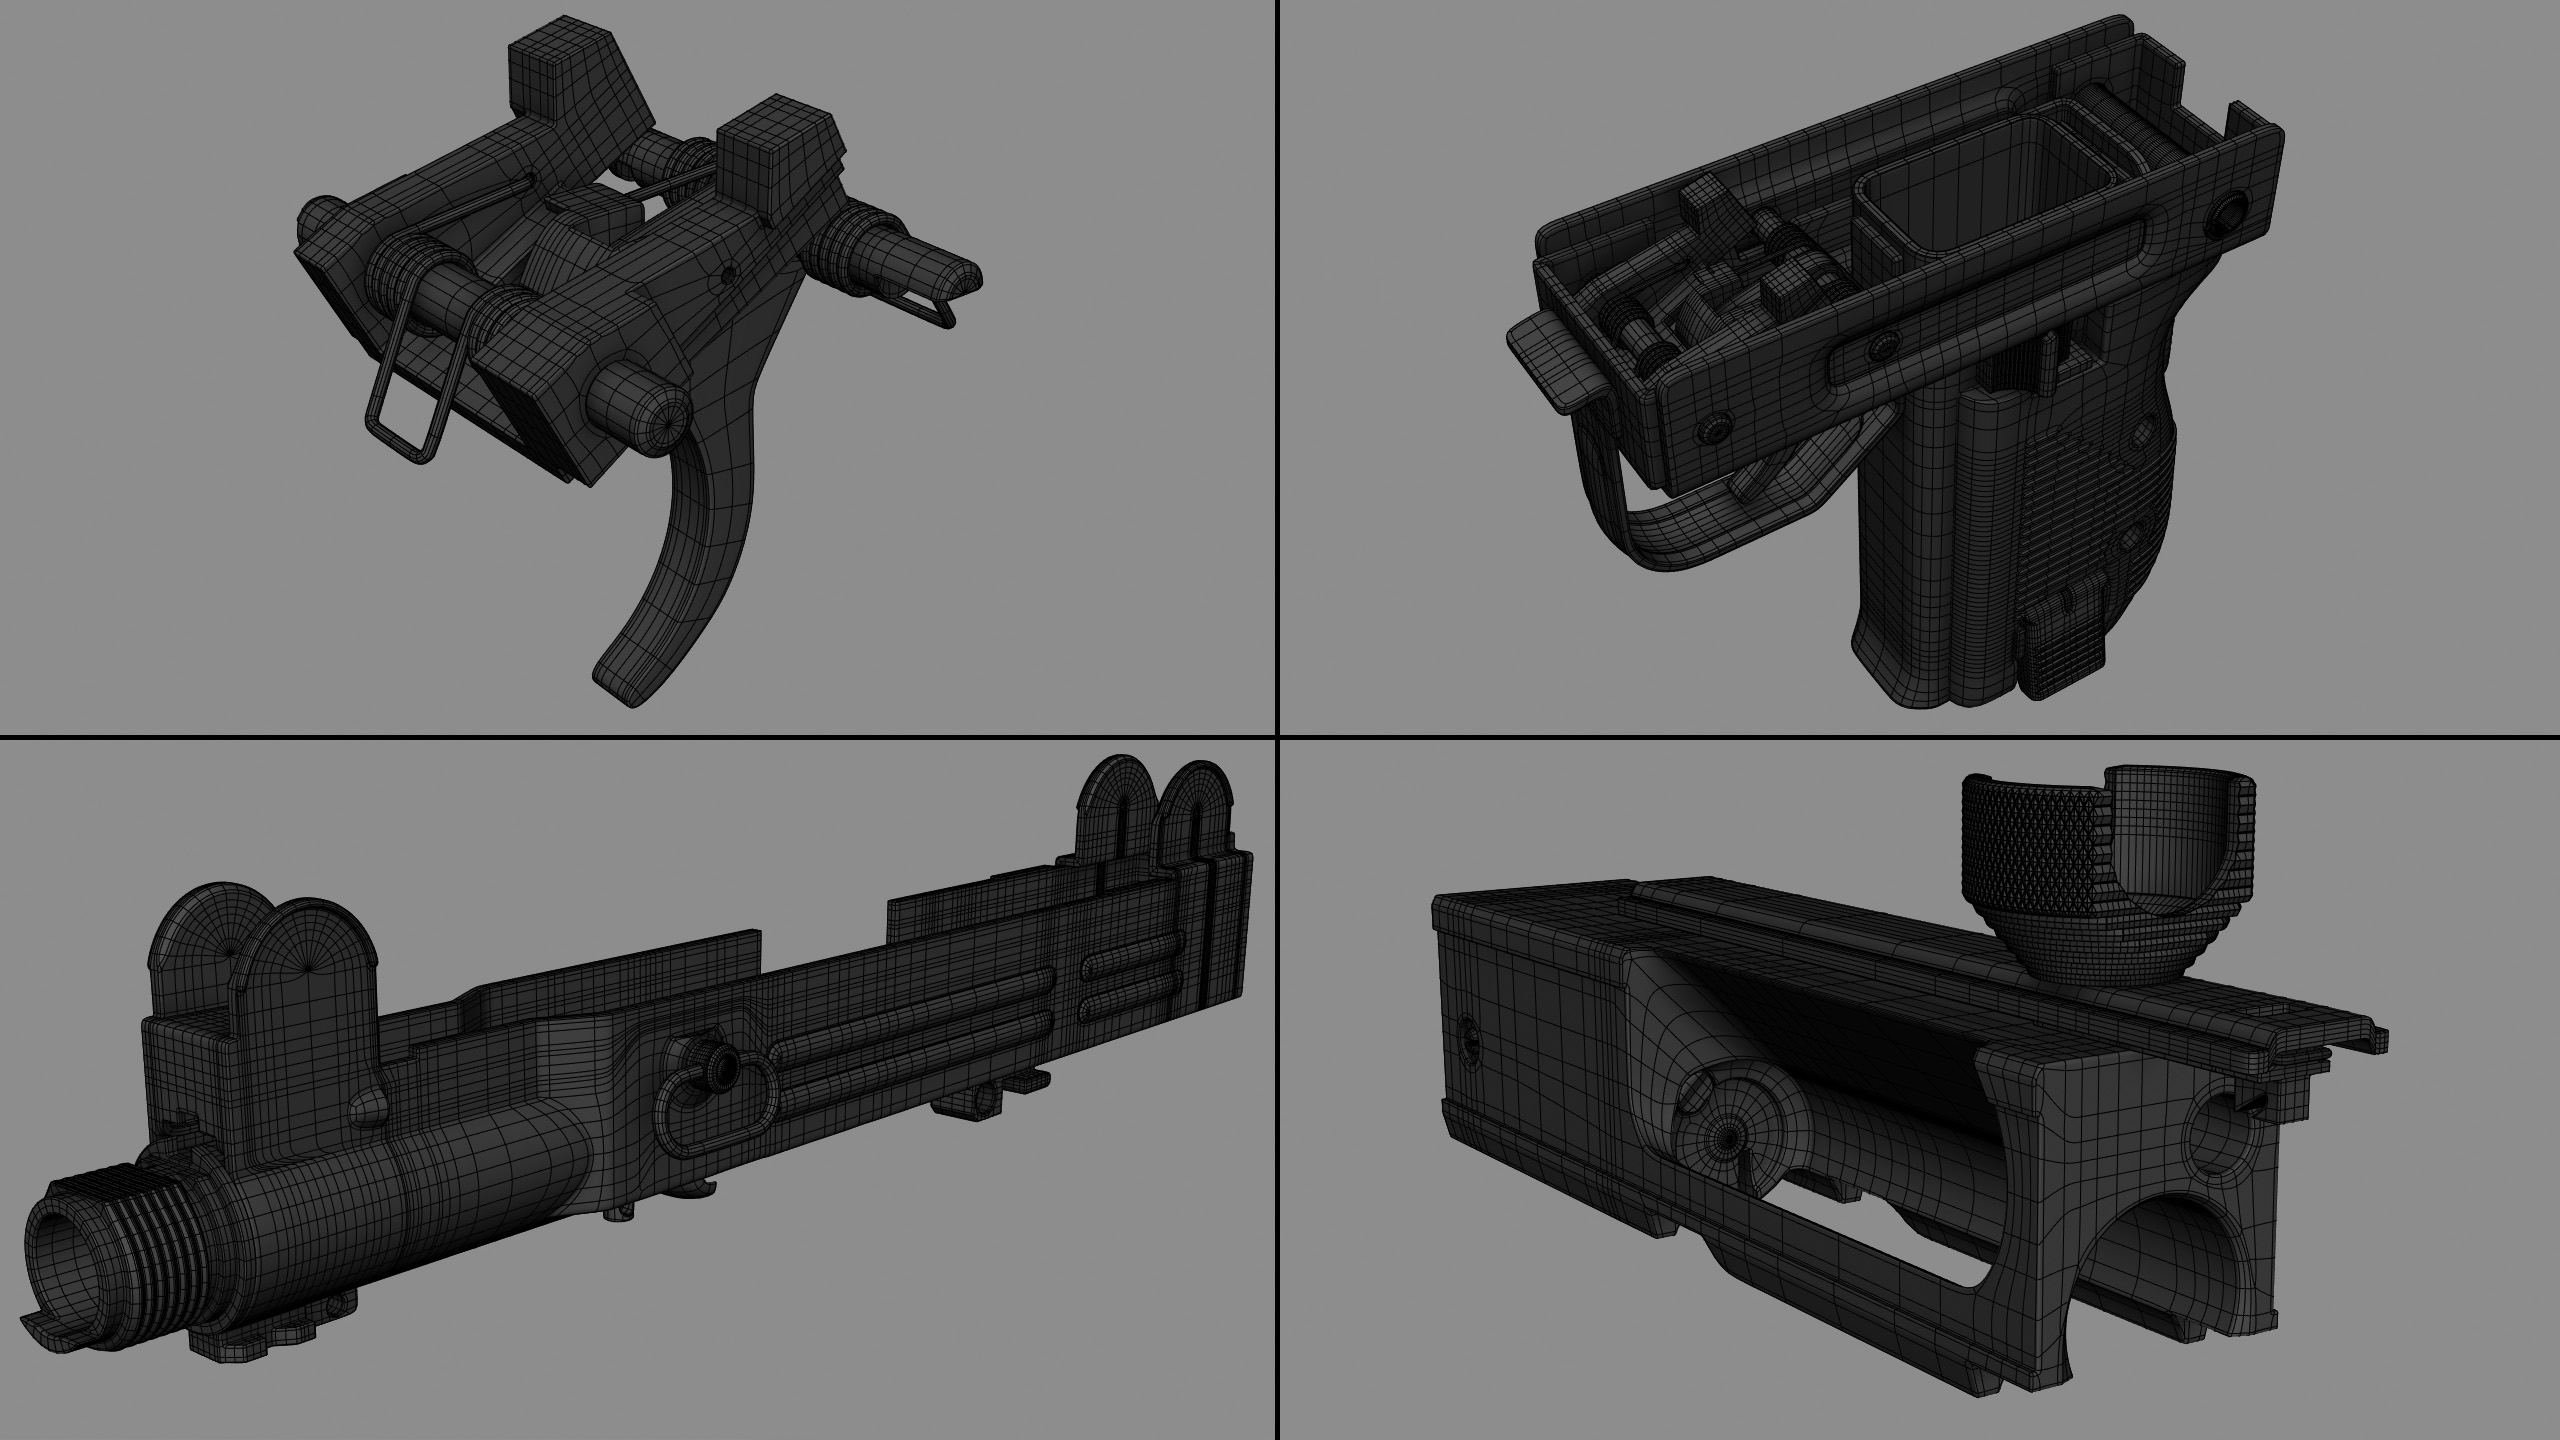
The objective for this project was very simple – as a previous CAD user I wanted to see how far I could take the accuracy of high-poly modeling in Maya and so I decided to try and recreate an UZI submachine gun with all its internal parts as best as I could, based on the references I had available. I decided early on not to rely on normal mapping and constricted its use to scratches, symbols and light damage. This was essentially a rebellion against my education which was mostly targeted at video game graphics – with all its restrictions.
INSPIRATION
I am very much interested in mechanical things as I come from a family where machines and engines have always been around and their inner workings intrigue me. I also wanted to integrate the level of detail I put in my 2D work into my 3D workflow.
WHY MAXWELL?
I was and still am very new to rendering, and when looking for a primary software to use, I first and foremost wanted accuracy and real-world numbers. This was very important to me since I very much disliked the fact that the game engines I had used previously had no apparent grounding in reality. After much searching and testing I settled on Maxwell Render. I liked how I could stack layers of materials with completely different attributes on top of one another, as well as how simple it was, and how well it handled displacement maps. In the end though, it was probably the FIRE viewport for Maya that sold it.
Getting a fast and accurate preview of a project is of much greater value to me than a fast final render.
I have noticed that rendering certain things such as glass and translucent objects takes longer and they stay grainy even at higher sampling levels. Having a feature that allows you to direct a higher rendering priority to a specific area would save me a lot of time, especially since I render my projects on my personal desktop computer, and so I was very pleased to see this feature (Extra Sampling) added to Maxwell V3.1.
Making-of
MODELING
My intention was to model all the individual parts and get as much detail into the geometry as possible, retaining all the shapes on the original weapon, using no inserts and having no holes in the mesh.

Materials/Textures
For the textures I used DDO, which is a Photoshop-based program developed by Quixel. I started my internship at Quixel very early in its development, and so many of the features I requested during this project are now in there. One of these was being able to paint details by hand on a texture map and then having them automatically applied across all maps with accurate reflection values. I ordered a few original UZI parts for material reference to get the feeling right. I also sculpted some production marks and damage by hand in Zbrush. For the ground I used textures from the early Megascan service, which is a library of scanned high-resolution textures and models integrated with DDO. I simply based the Maxwell materials on the ones made by the material wizard (AKA Material Assistants from V3) and exported material masks from DDO to do the layering when necessary, such as when splitting the parkerization from the underlying steel, adding dirt, oil and so forth.

Rendering
I wanted my render to look more like an amateur photo from a war-torn environment than a nice presentation and I did not tinker all that much with the light. I simply added an HDRI I liked, parented an emitter to the camera to simulate a built-in flash, scattered some spent casings about and just went for it!


(This is the render without post-pro)
Post-production
I was happy with the look of the original render and did not edit it much. I did a bit of color and contrast tweaking, and added a little bit of lens dirt in Photoshop to give the final image a rougher feel.
This was my first project with Maxwell and it might not be as advanced as many others out there, but I am very pleased with the results, even with its simple setup.
