
This week’s breakdown is brought to you by Maciek Ptaszynski, a CG artist working in Munich. Maciek is a landscape architect by profession and says that his biggest passion is CG – so working in this industry makes him really happy. He has only recently started using Maxwell Render and is already creating beautiful images like the one presented today.
Thanks for sharing your work with us Maciek, your passion for rendering really shines through! 🙂
PART I – CAR 3D MODEL
Using a good-quality 3D model is very, very important and is the basis for an excellent final image. When you are modelling or searching for a model on the Internet, make sure that it is sufficiently detailed with straight, smooth surfaces and no big, visible errors. Having a bit more geometry for interiors and some textures for lights, tires or stickers is always good news too. This time I used a model made by Pawel Kotwica. He did a great job, and you can actually download the model for free from our Behance project. Thanks, Pawel!
PART II – CONCEPT
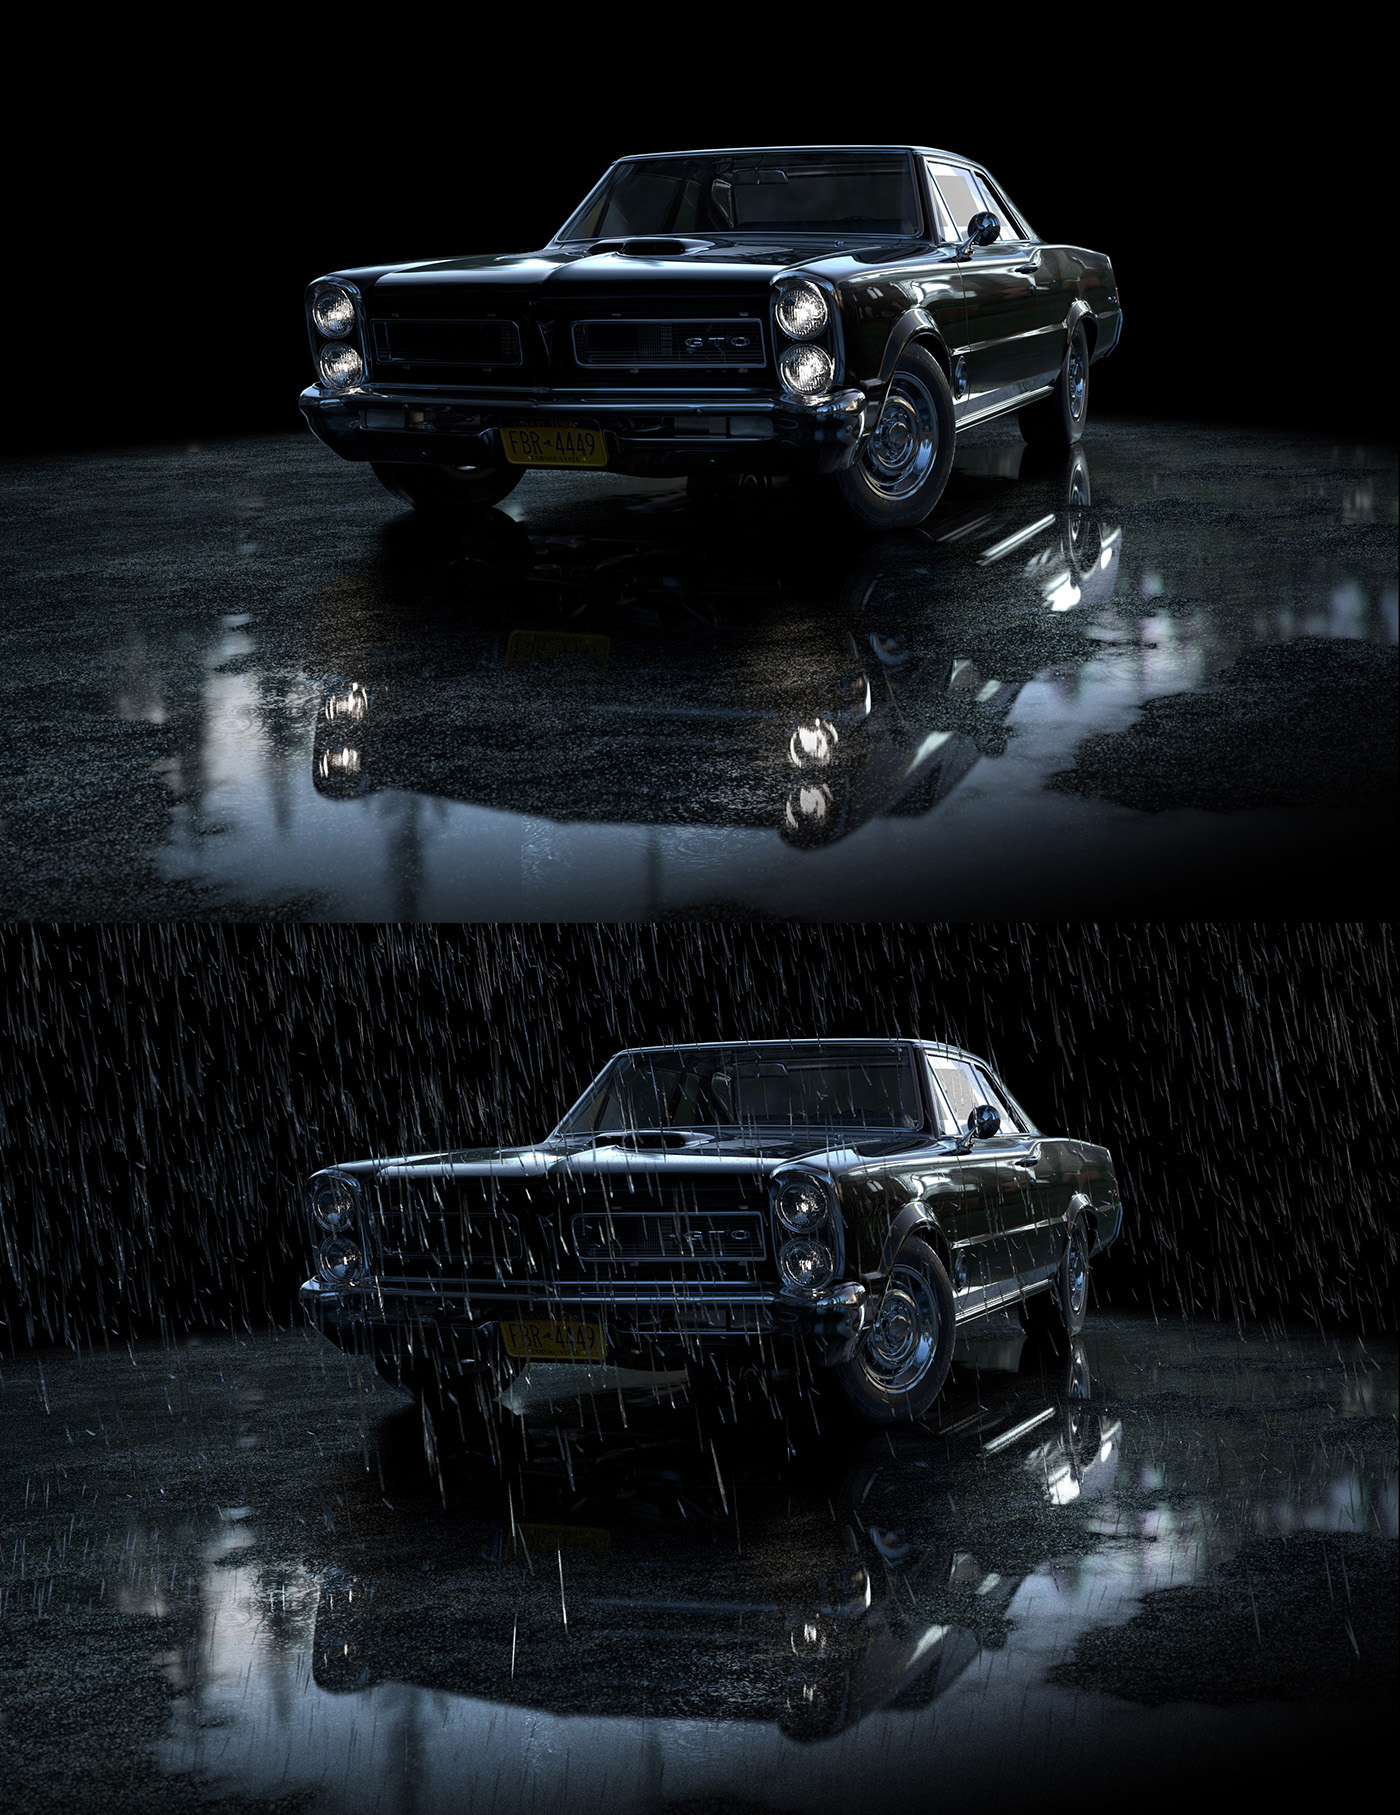
Now that we have our 3D car model, we can start thinking about ideas for the image. The first decision is whether to render a location shot or a studio shot. This time I decided to make a location image with minimalistic environment and quite strong reflections. The plan was also to render some rain later on.
PART III – ANGLE
Camera angle is very, very important! A bad angle will destroy your image!
Please take your time and experiment with different options to define the best angle. I change the cameras around and make a lot of screenshots, and then later I look through them to select the best one. Try playing with focal length as well, and don’t go too wide with the lens otherwise the rear wheels will look too small. Then again, don’t make the lens too long either because this will make the car look flat and boring. It’s a good idea to judge the angles with some lighting, but for this example the viewport mode was fine.
PART IV – LIGHTING
For lighting I used a combination of two HDR images, one from HDRlabs.com and one from panocapture.com. To combine and tweak them I used Photoshop. Then I quickly added 3 lights in HDR Light Studio 5 to enhance some shapes. If you are not familiar with this software yet, I recommend checking it out! It is not only for studio shots and it really rocks!
PART V – RENDERING
With Maxwell Render it went soooo smooth! Some quick shading with default Maxwell materials – and a perfect result.
This is what I love about Maxwell! The render always looks better than you expect!
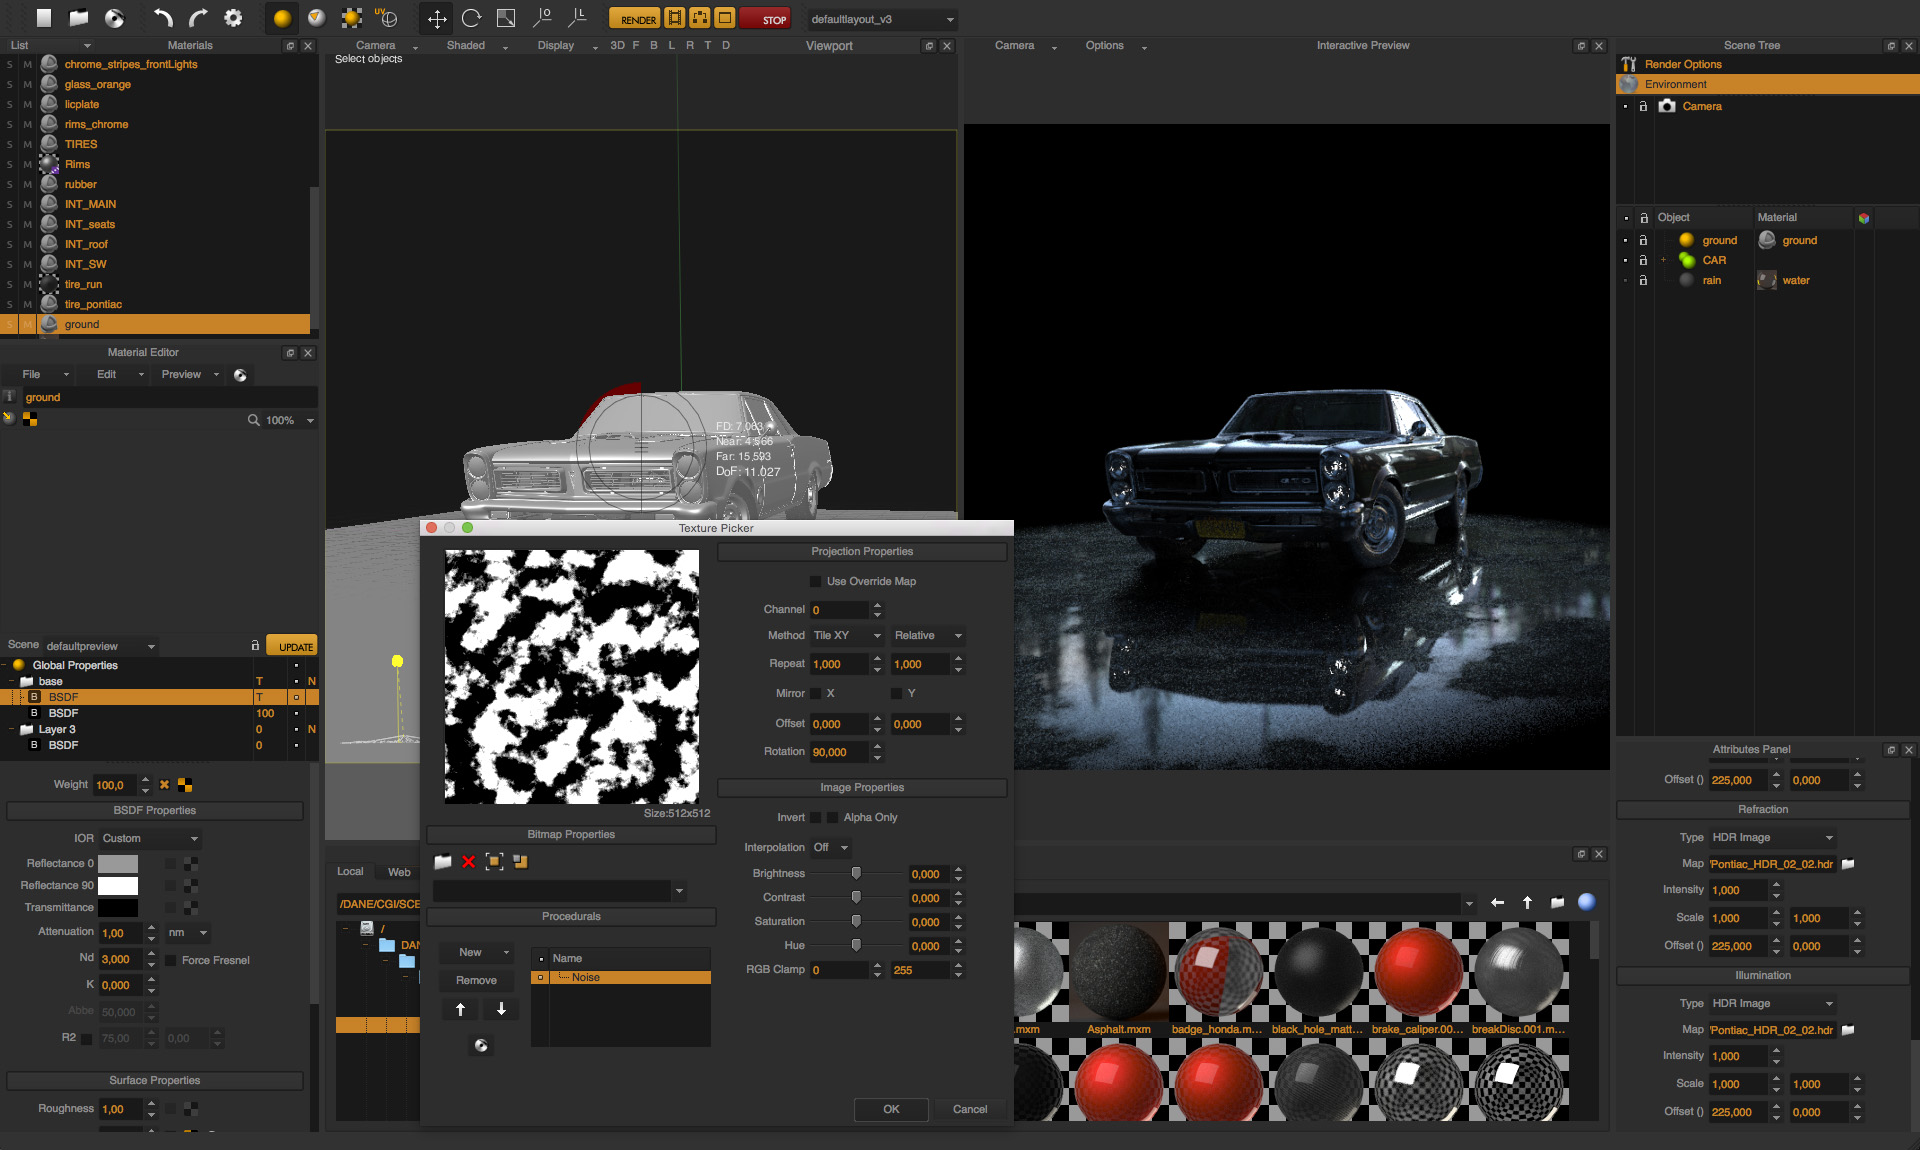
For the ground I used an asphalt texture and a glossy layer with procedural noise with the texture placed in the opacity slot of the layer. This was to create the water on the ground. I used the V3 procedural textures for the puddles and I love how this feature worked 🙂
So easy, so nice! To create the rain drops I used Blender – just one mesh with array modifier and randomize transform did the job.
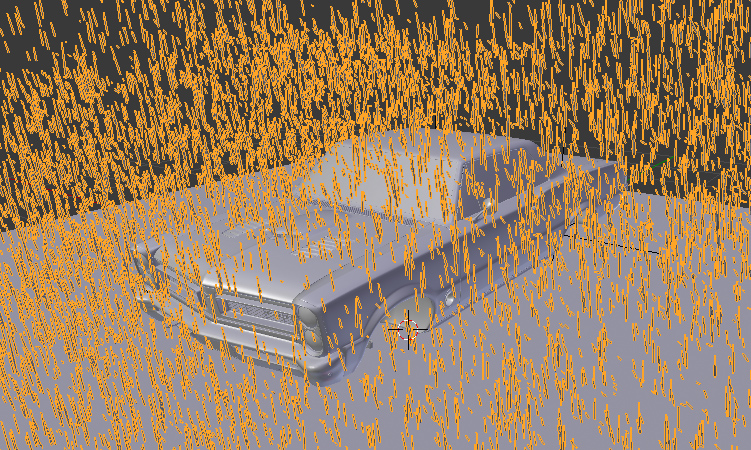
I wasn’t yet sure how much rain I would need for the final picture, so I just rendered two versions: with and without rain.
PART VI – POST-PRODUCTION
For combining the final two beauty passes I used Photoshop. It’s a good idea to render the images to 16 or 32 bit .exr files so that the final render contains more information.
The post-production steps you can see in the following video: